
Handprint Shadowbox
M and I were playing around with salt dough when I became inspired to make these for Father’s Day to give to M and B’s dad, Grandpa and Papa:
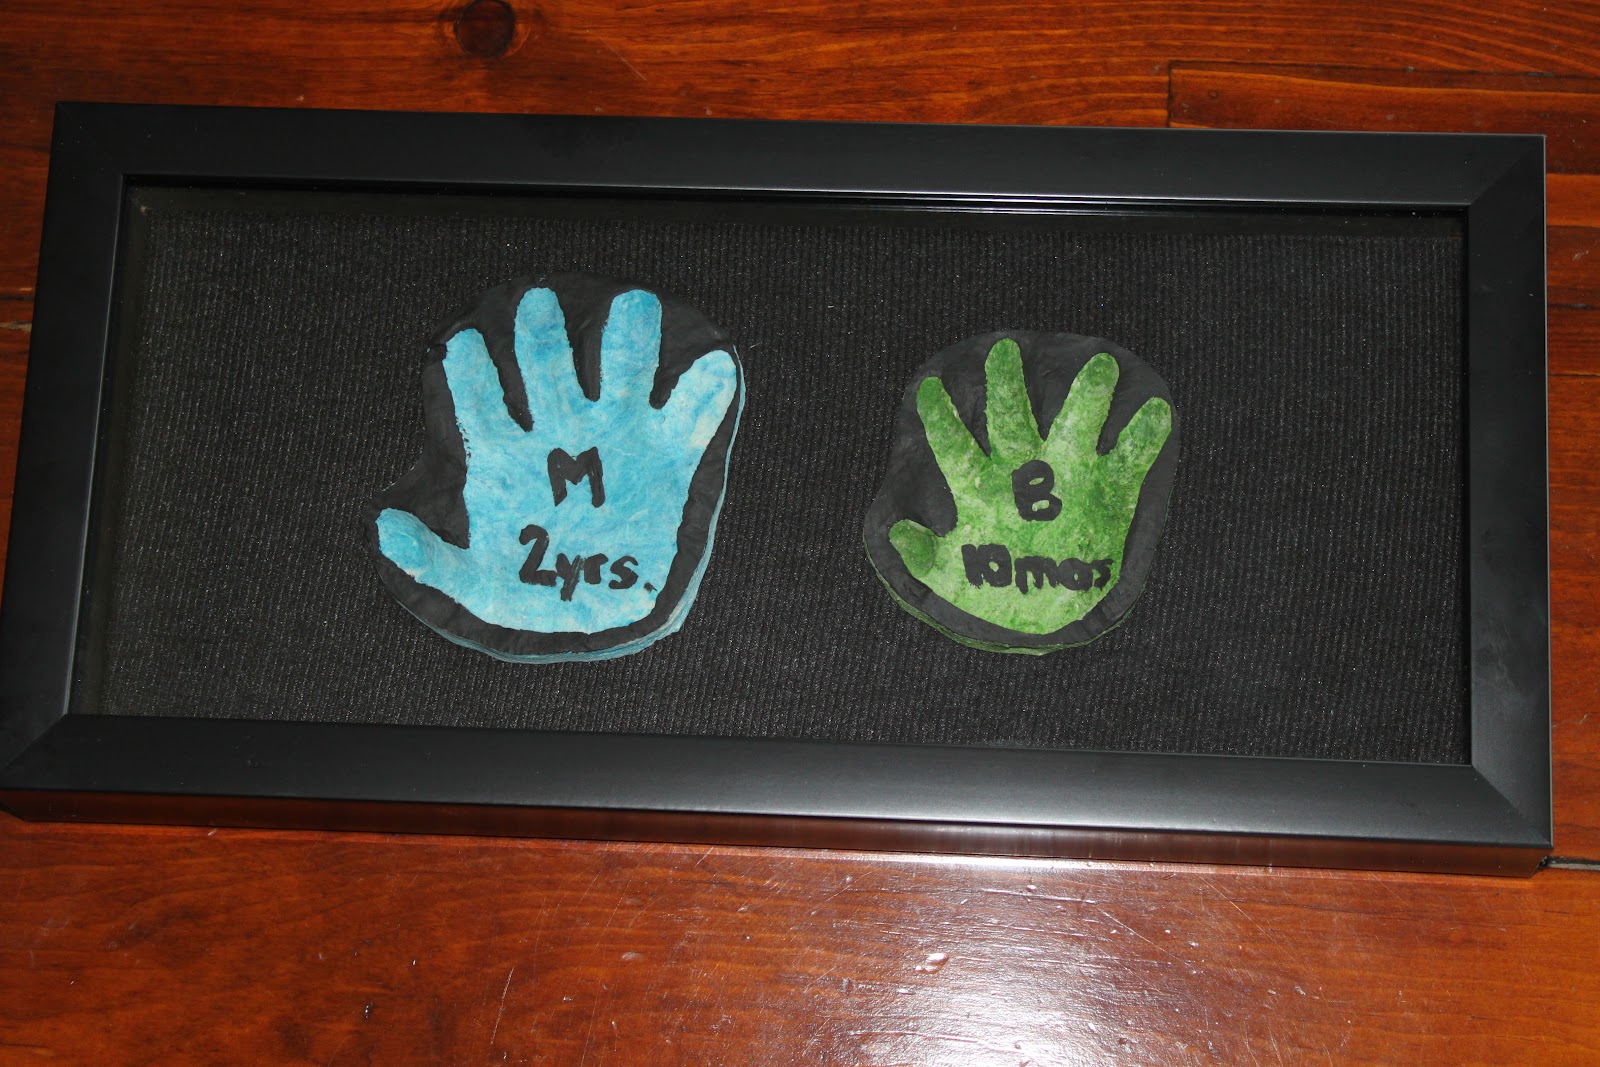
It’s a simple idea, but it’s a nice way to capture, preserve and display those precious little handprints.
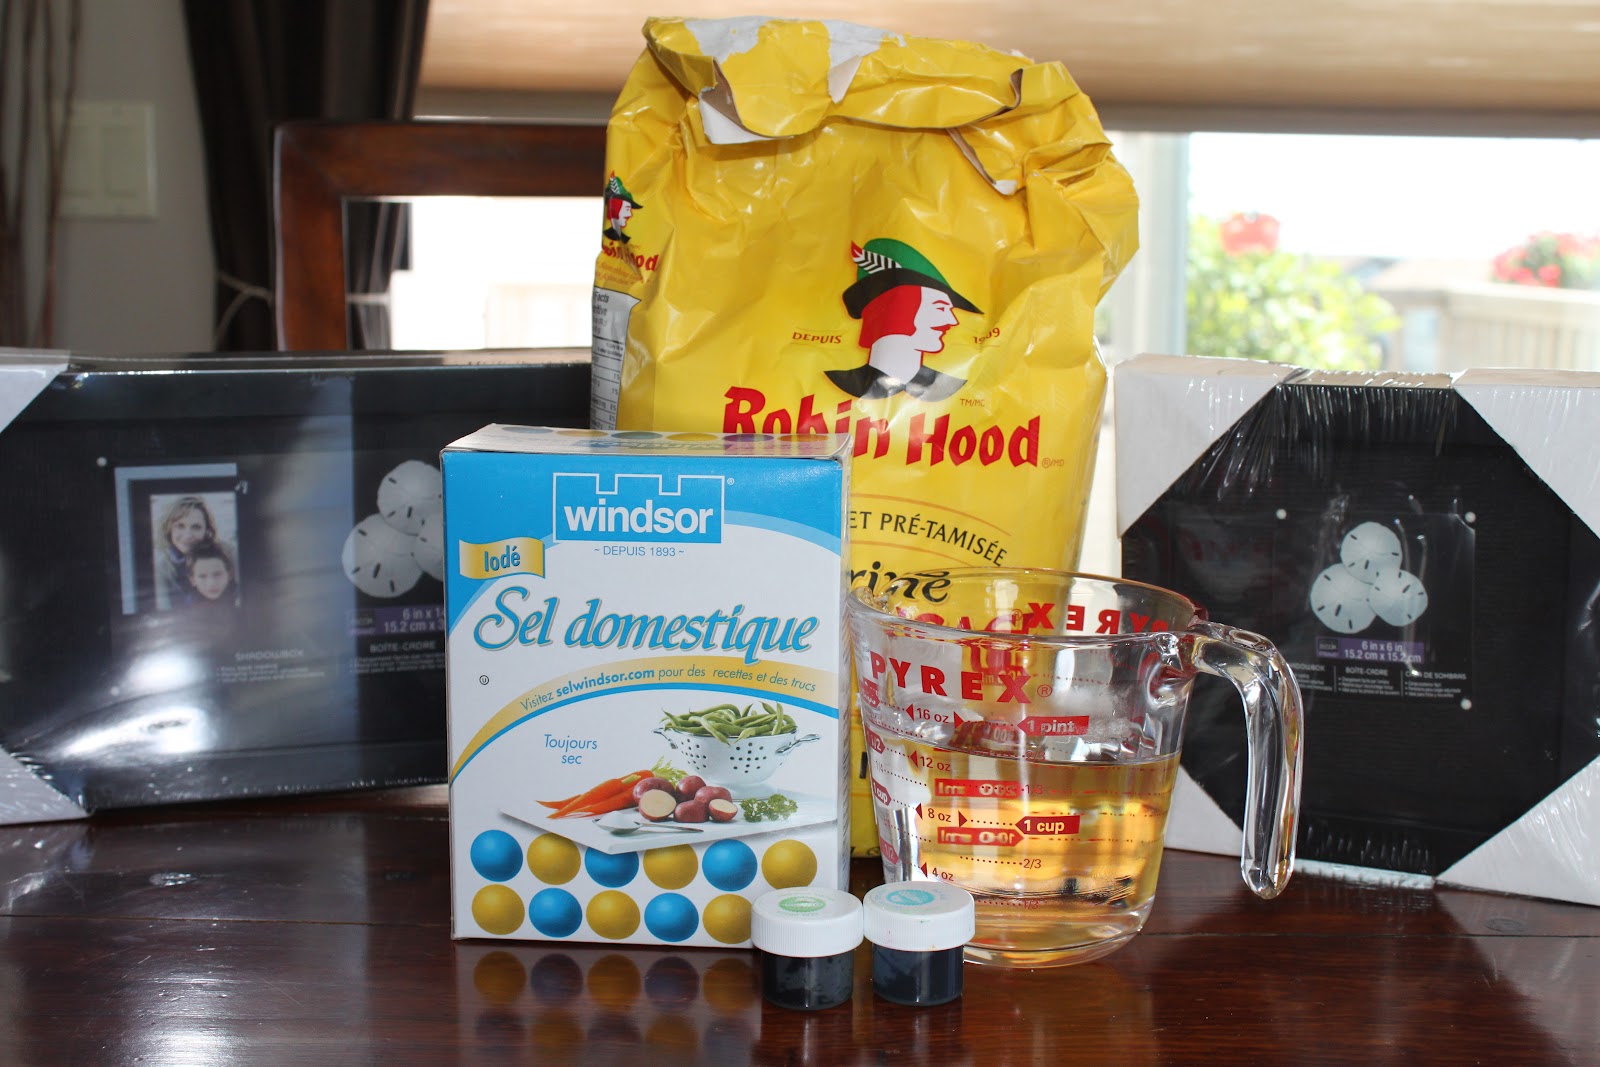
Supplies: shadowboxes (I purchased from Michael’s at 40% off), salt, flour, water, food colouring
The salt dough recipe I used is for the microwave. If you would like to do yours in a conventional oven you will need to follow a slightly different recipe. I found both of these recipes from a site called All Free Crafts . You can click on the recipe titles below to see step-by-step directions for each one:
- 1 cup salt
- 4 cups all purpose flour
- 1 1/2 cups hot water
- food colouring (optional- I used gels for deeper colours)
Conventional Oven Salt Dough Recipe:
- 1 cup salt
- 2 cups all purpose flour
- 1 cup water
- food colouring (optional)
As I mentioned above, I used the microwave salt dough recipe for this project because it dries a lot quicker than the oven recipe.
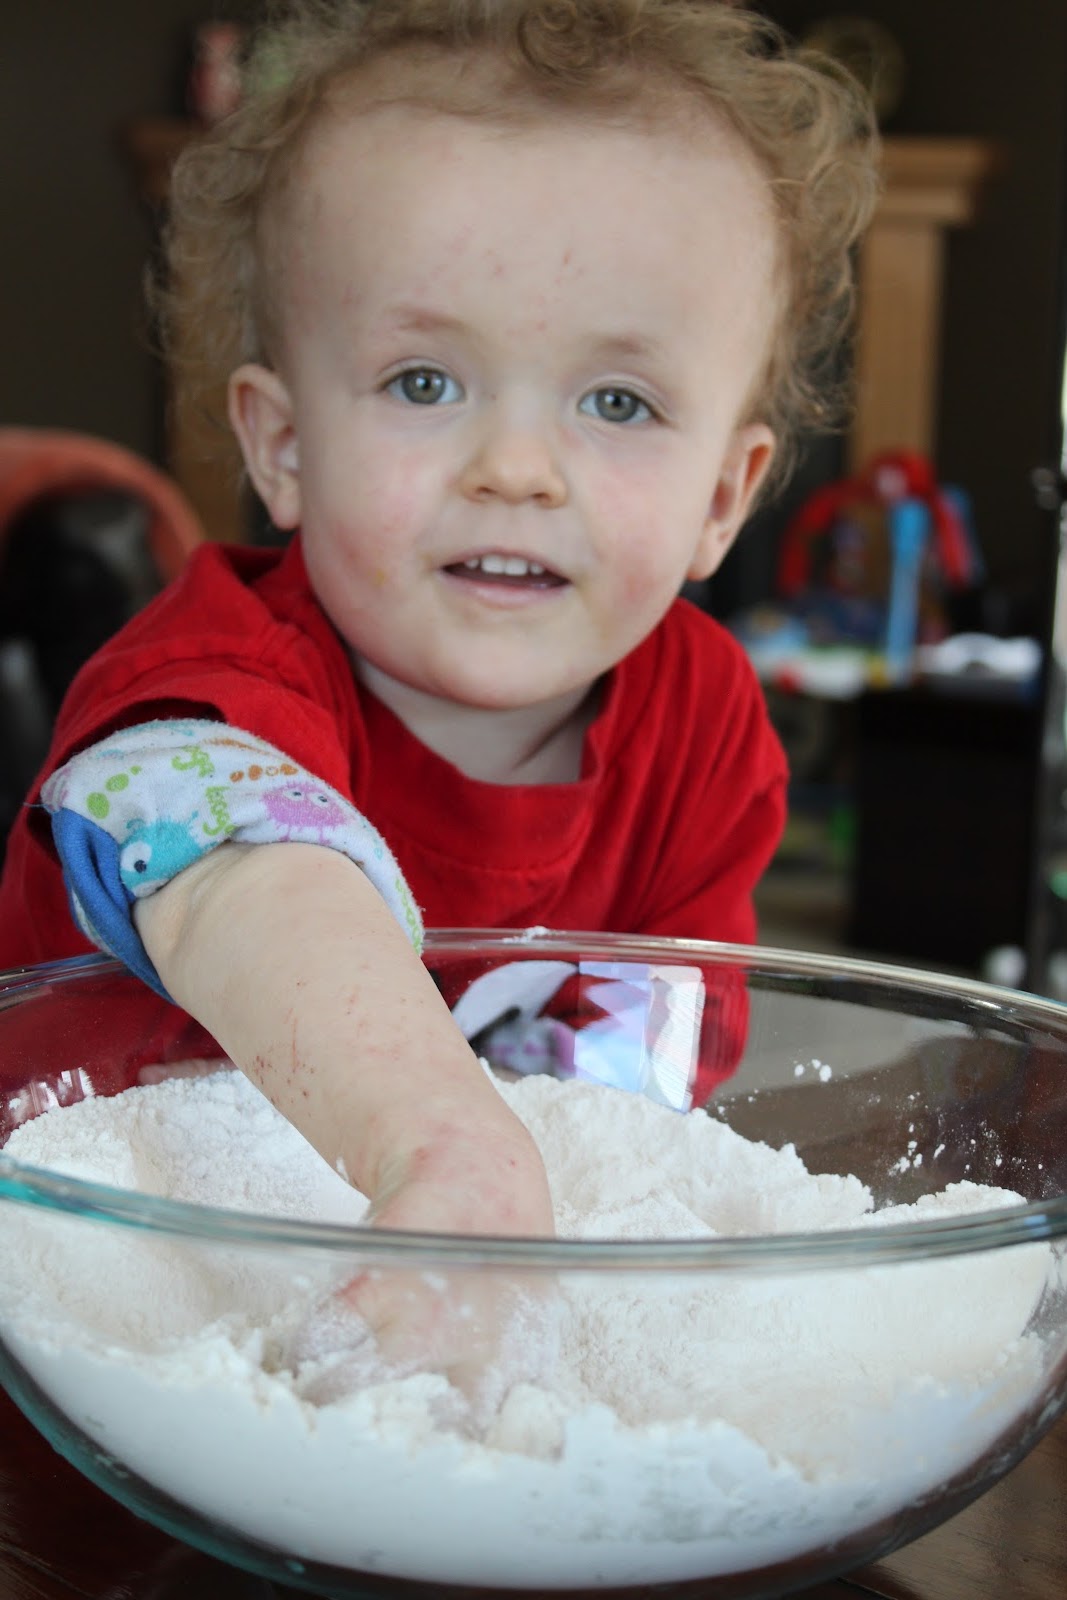
Here’s M mixing the flour and salt together
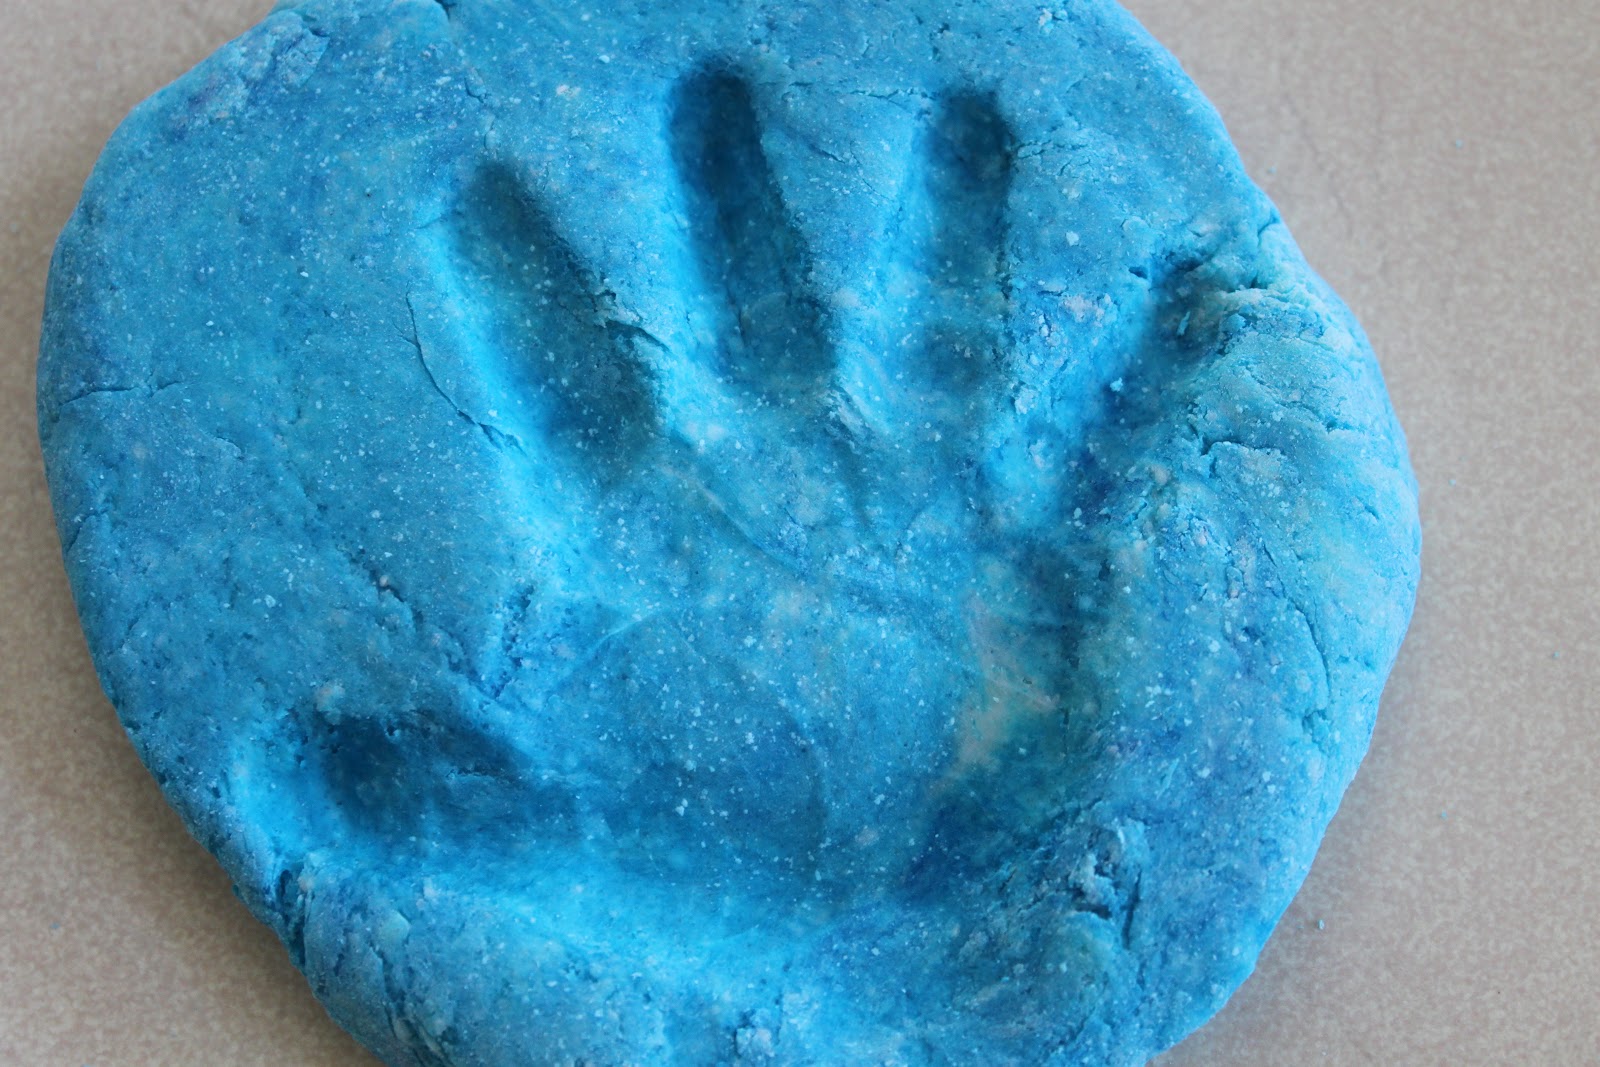
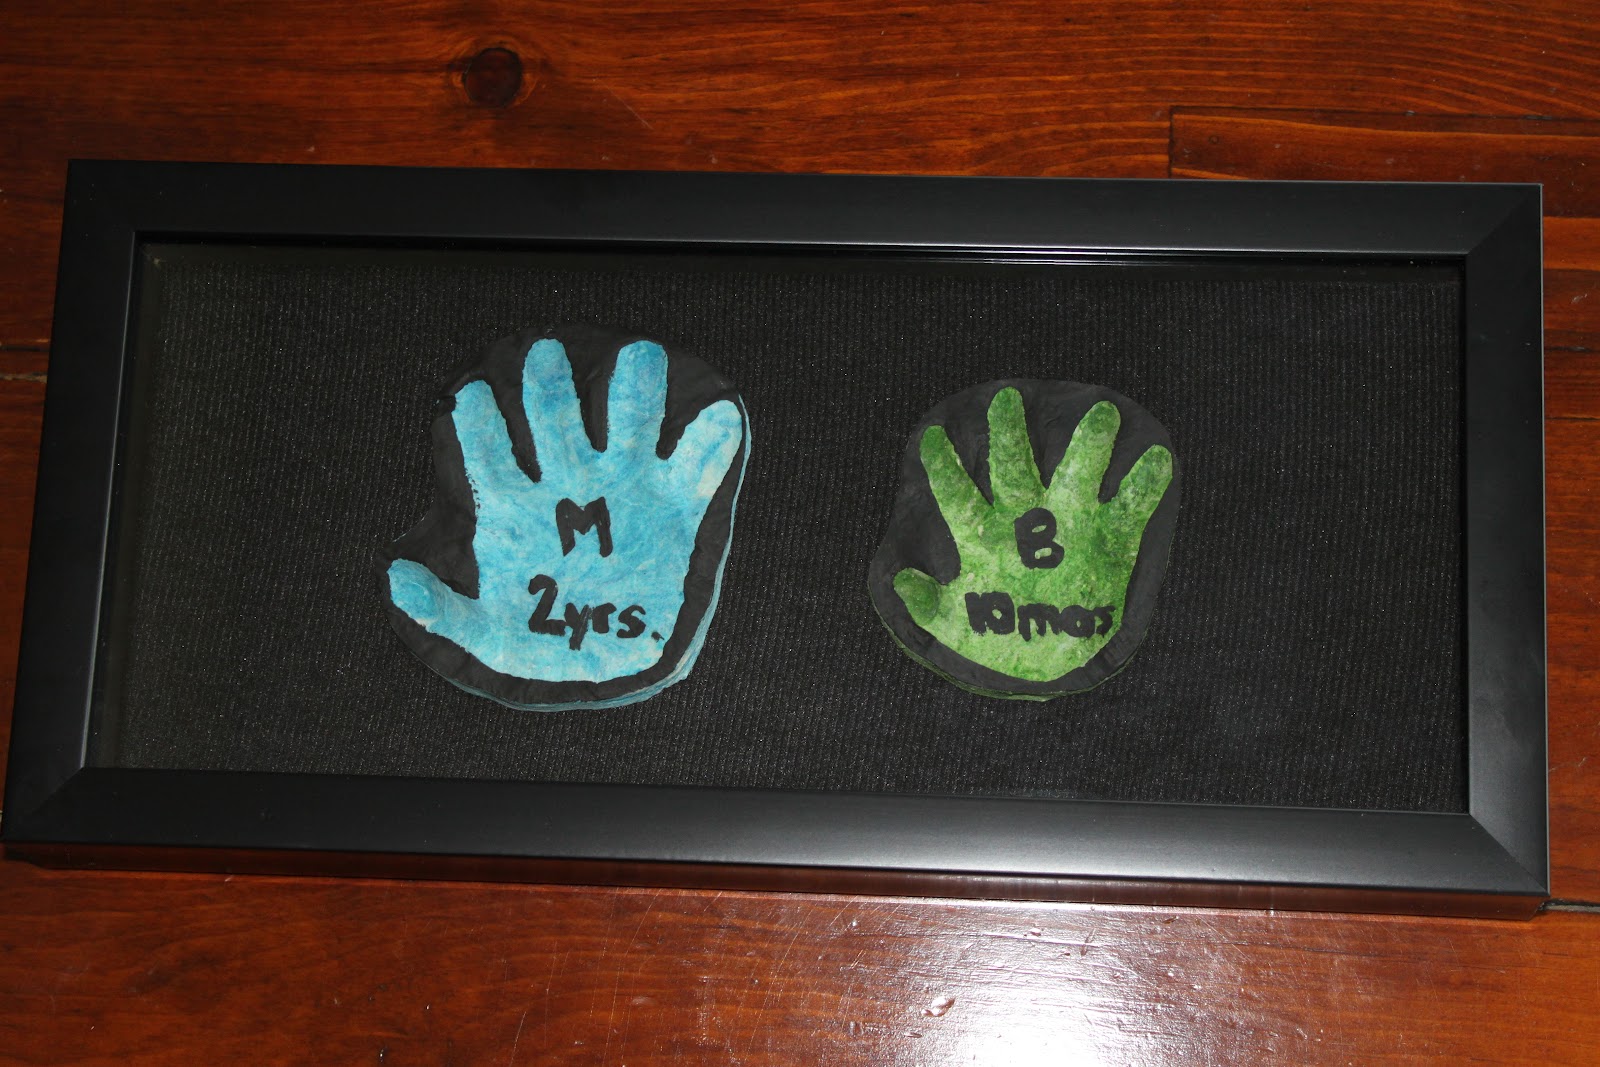
After mixing the salt and flour, I added hot water and some food colouring. I decided to use two different colours (blue for M’s handprints and green for B’s) in order to help visually discern the two. You may want to scrap the food colouring all together and just paint them once they dry. I used the food colouring to add some extra dimension to our finished product, and so I wouldn’t have to paint the handprint itself (I wanted to preserve the look of all the divots and lines of my boys’ hands by not painting over them). Make sure to WEAR GLOVES when you knead the food-coloured dough!
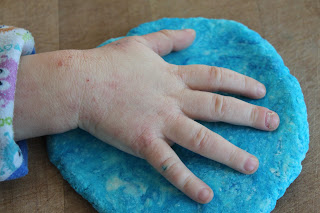
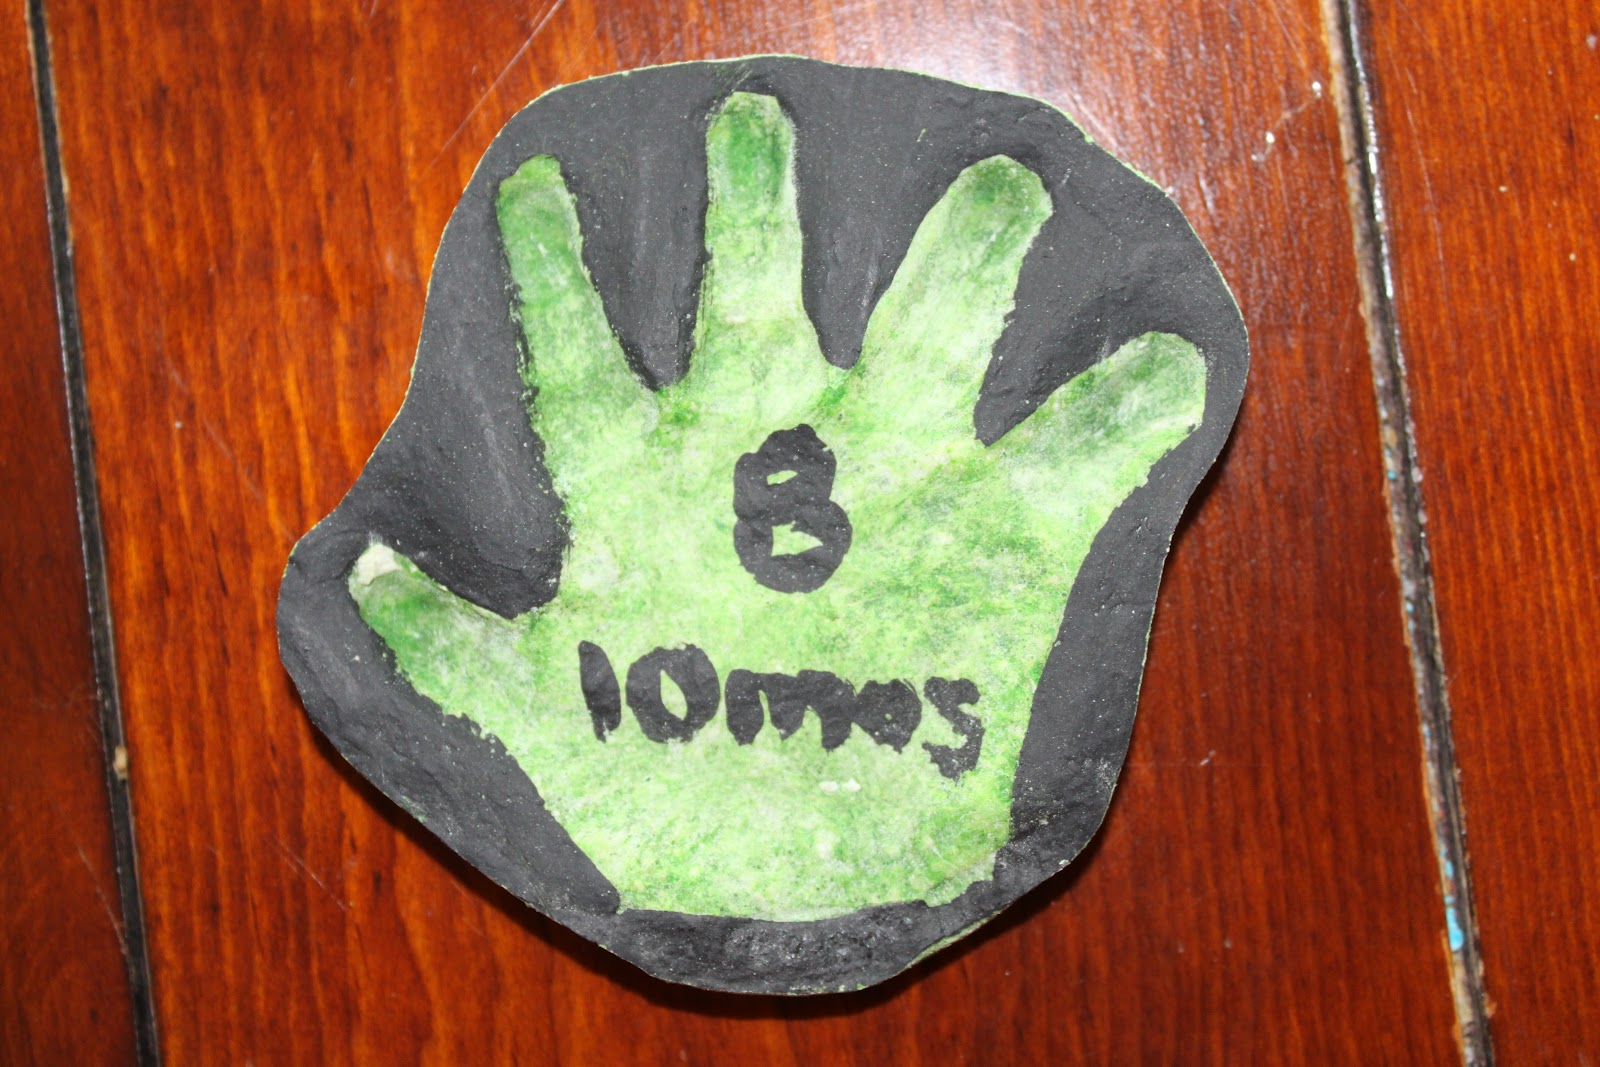
Roll out the dough and press hand into it, making sure to press down each finger and palm evenly, to get a good handprint
When you have all of your handprints, put them on a microwave-safe plate, or directly onto the rotating glass in your microwave, and microwave for 2 minutes. Check to make sure they do not bubble up or burn. Keep microwaving for 1 minute increments, until they are dry. Make sure to let them cool completely before painting.
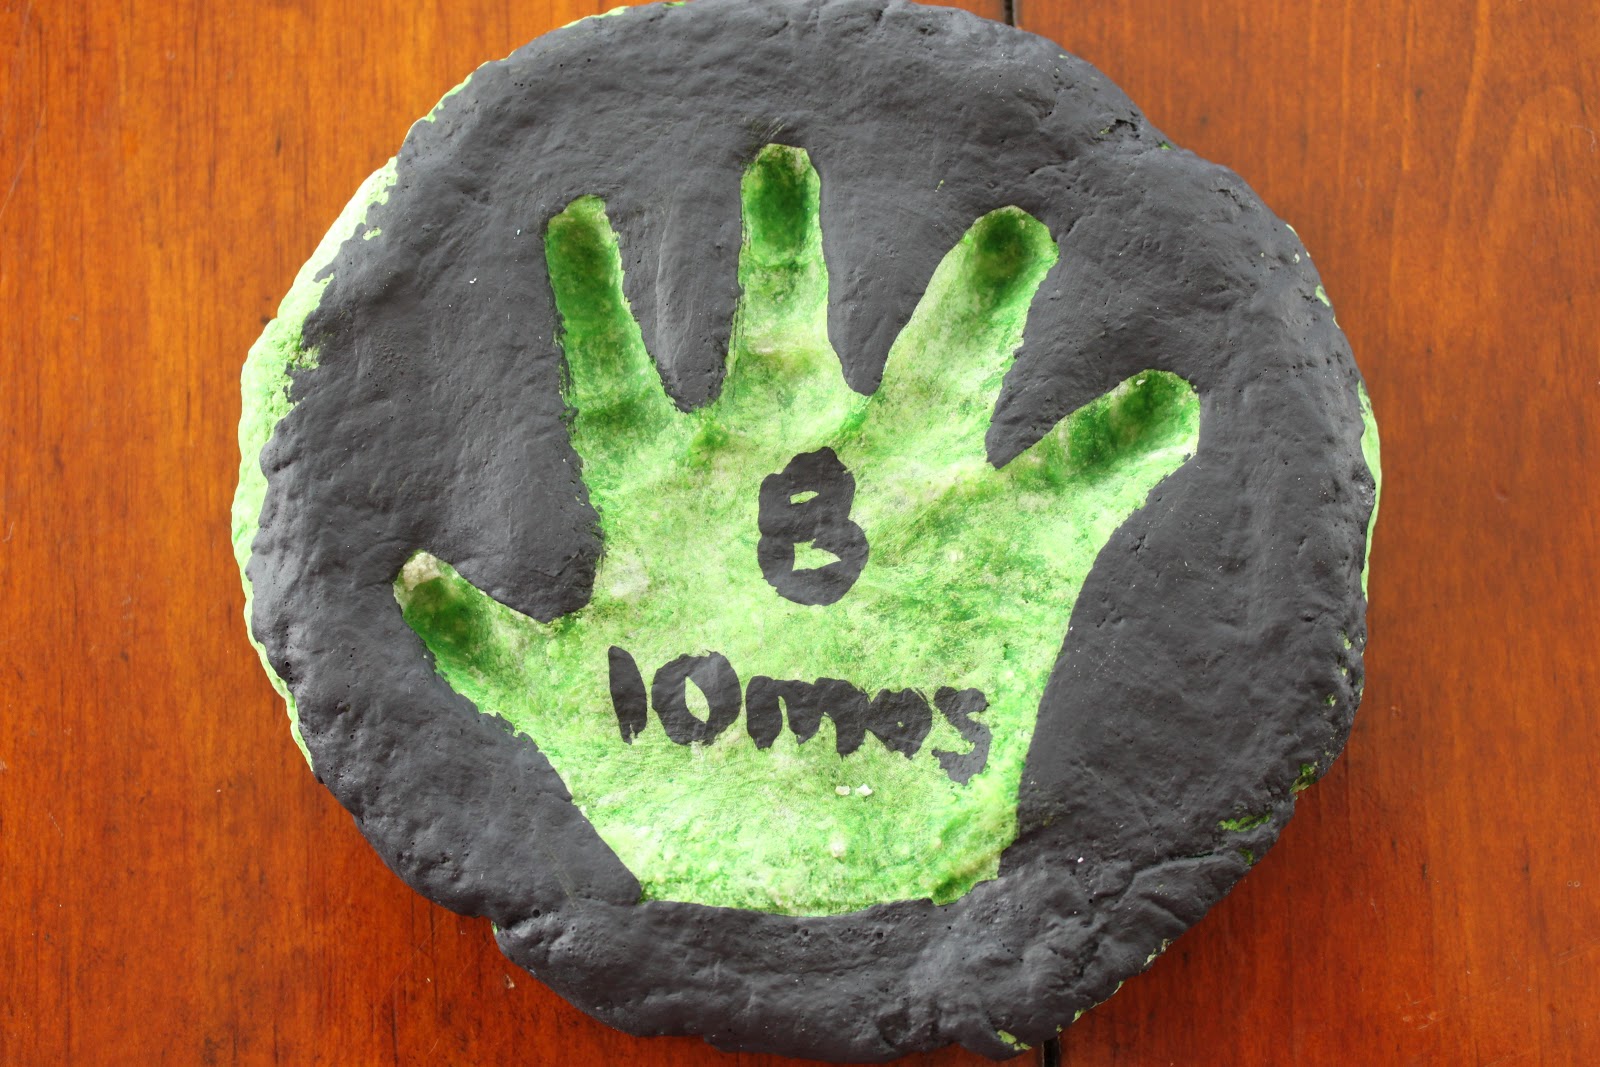
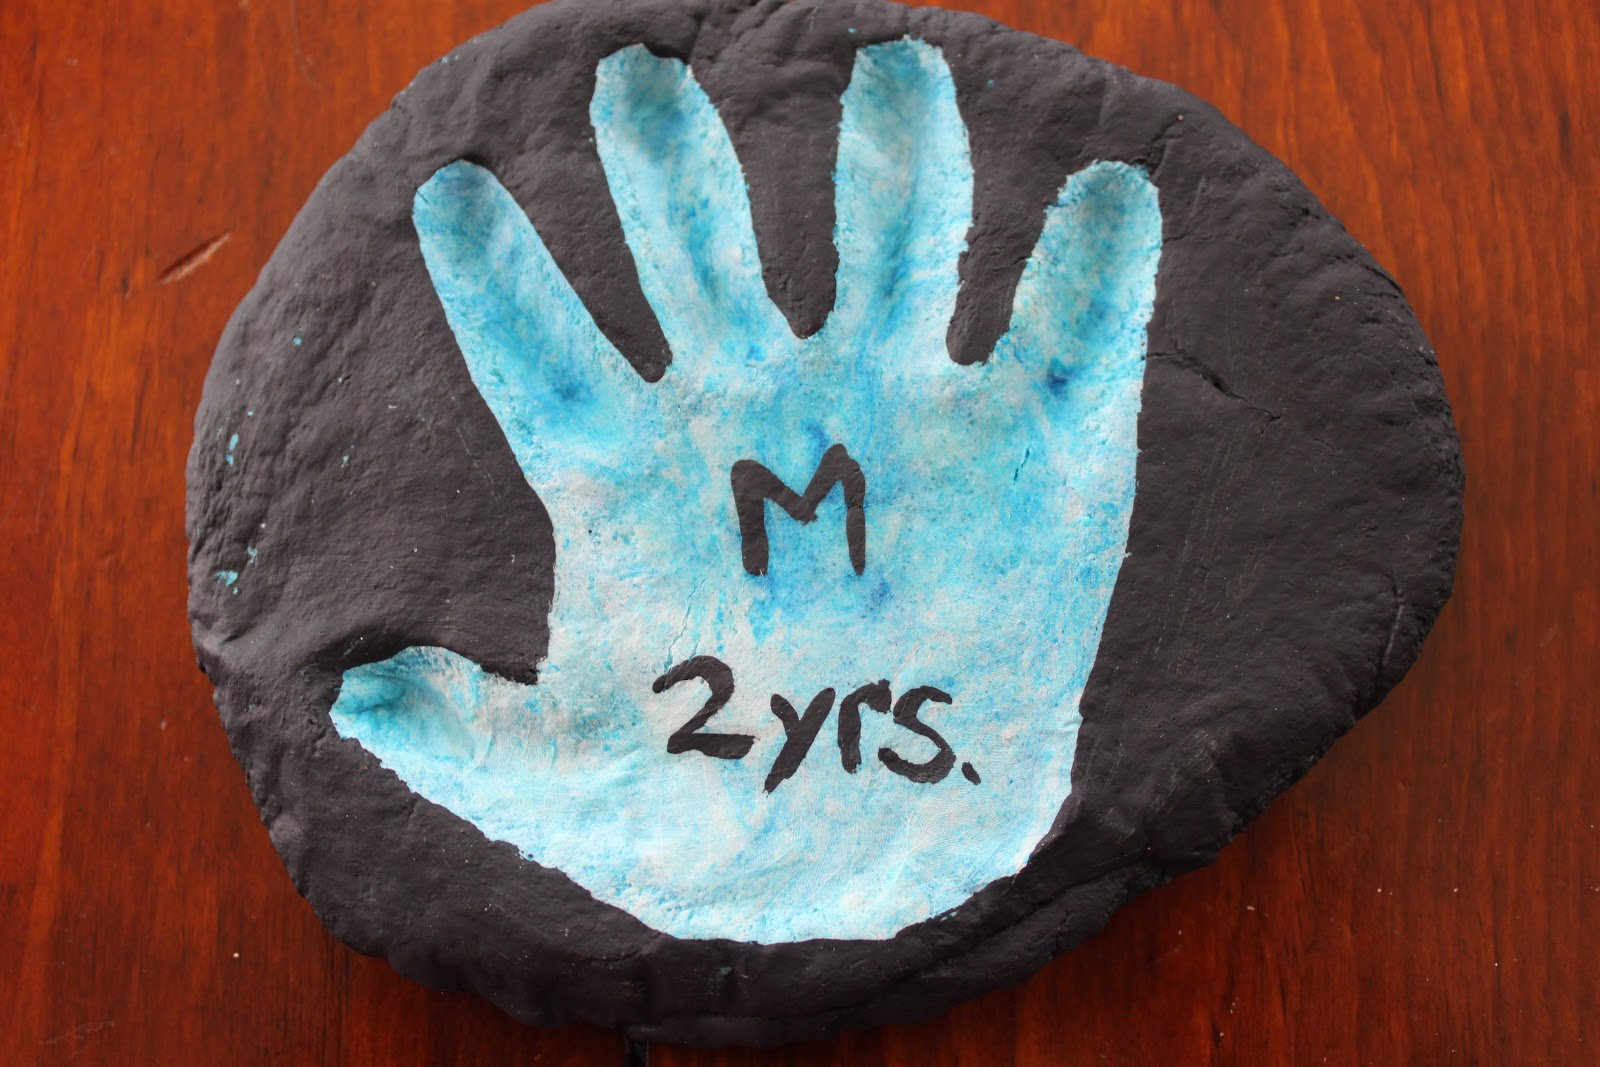
I painted black around the handprints (I wasn’t worried about the edges) and marked the inside of each handprint to indicate who it belonged to, and their age.
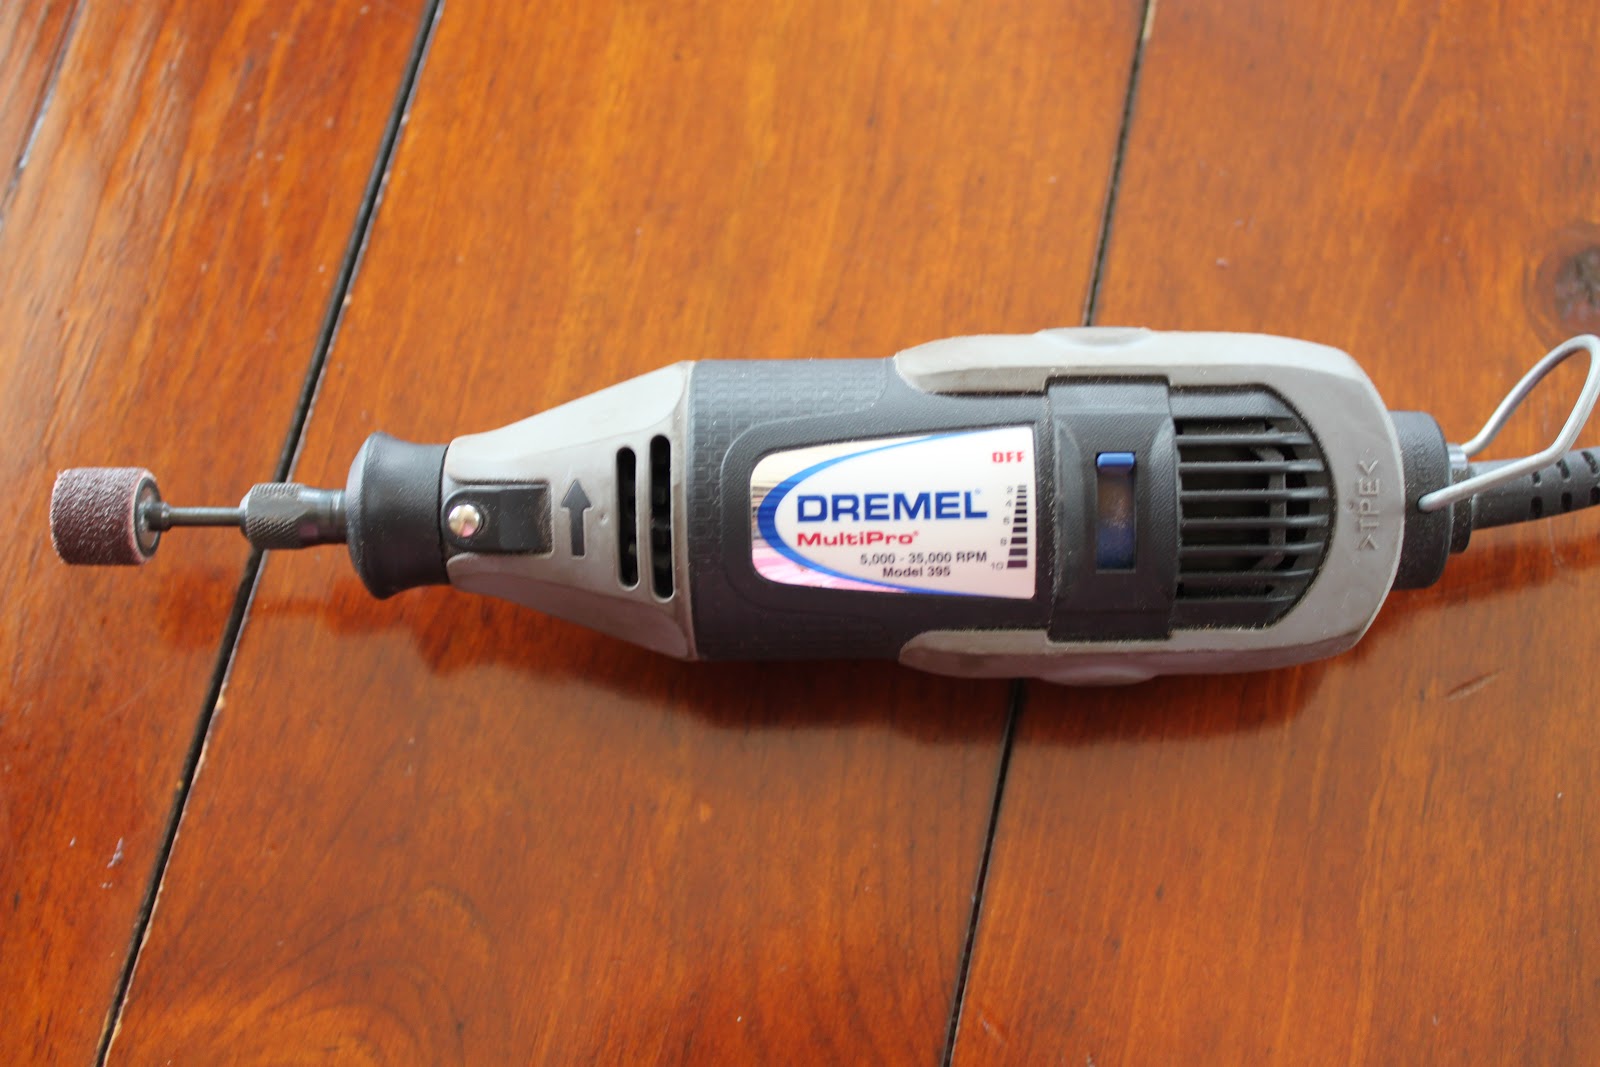
Then I took a Dremel and sanded around the edges of each handprint to create a more polished look. Make sure to do this step OUTSIDE, as it gets quite dusty! I also recommend wearing (sun)glasses and a face mask if you have one.
By the time I was working on my 3rd handprint, the sky started to look like this:
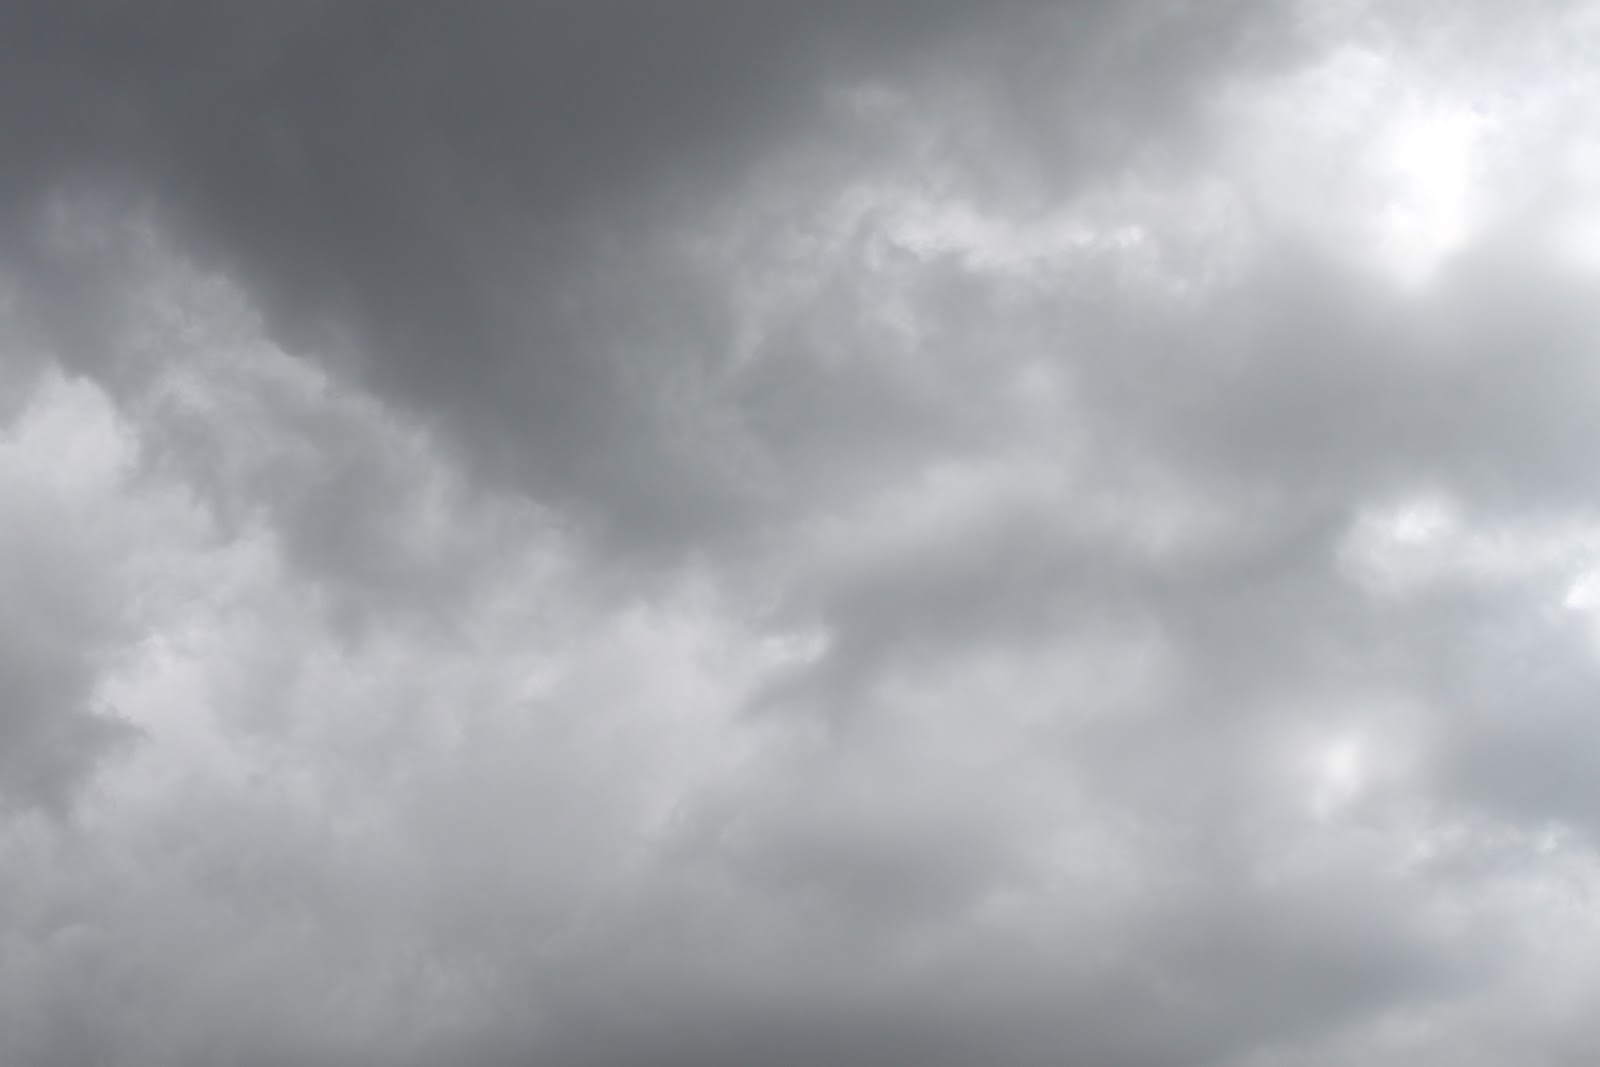
So I figured I’d better pick up the pace a bit!When I was done sanding them, I dusted them off, touched them up with more black paint, and placed them inside the shadowboxes. I recommend putting a bit of hot glue in the middle of your prints before sticking them on, just to make sure they stay put.
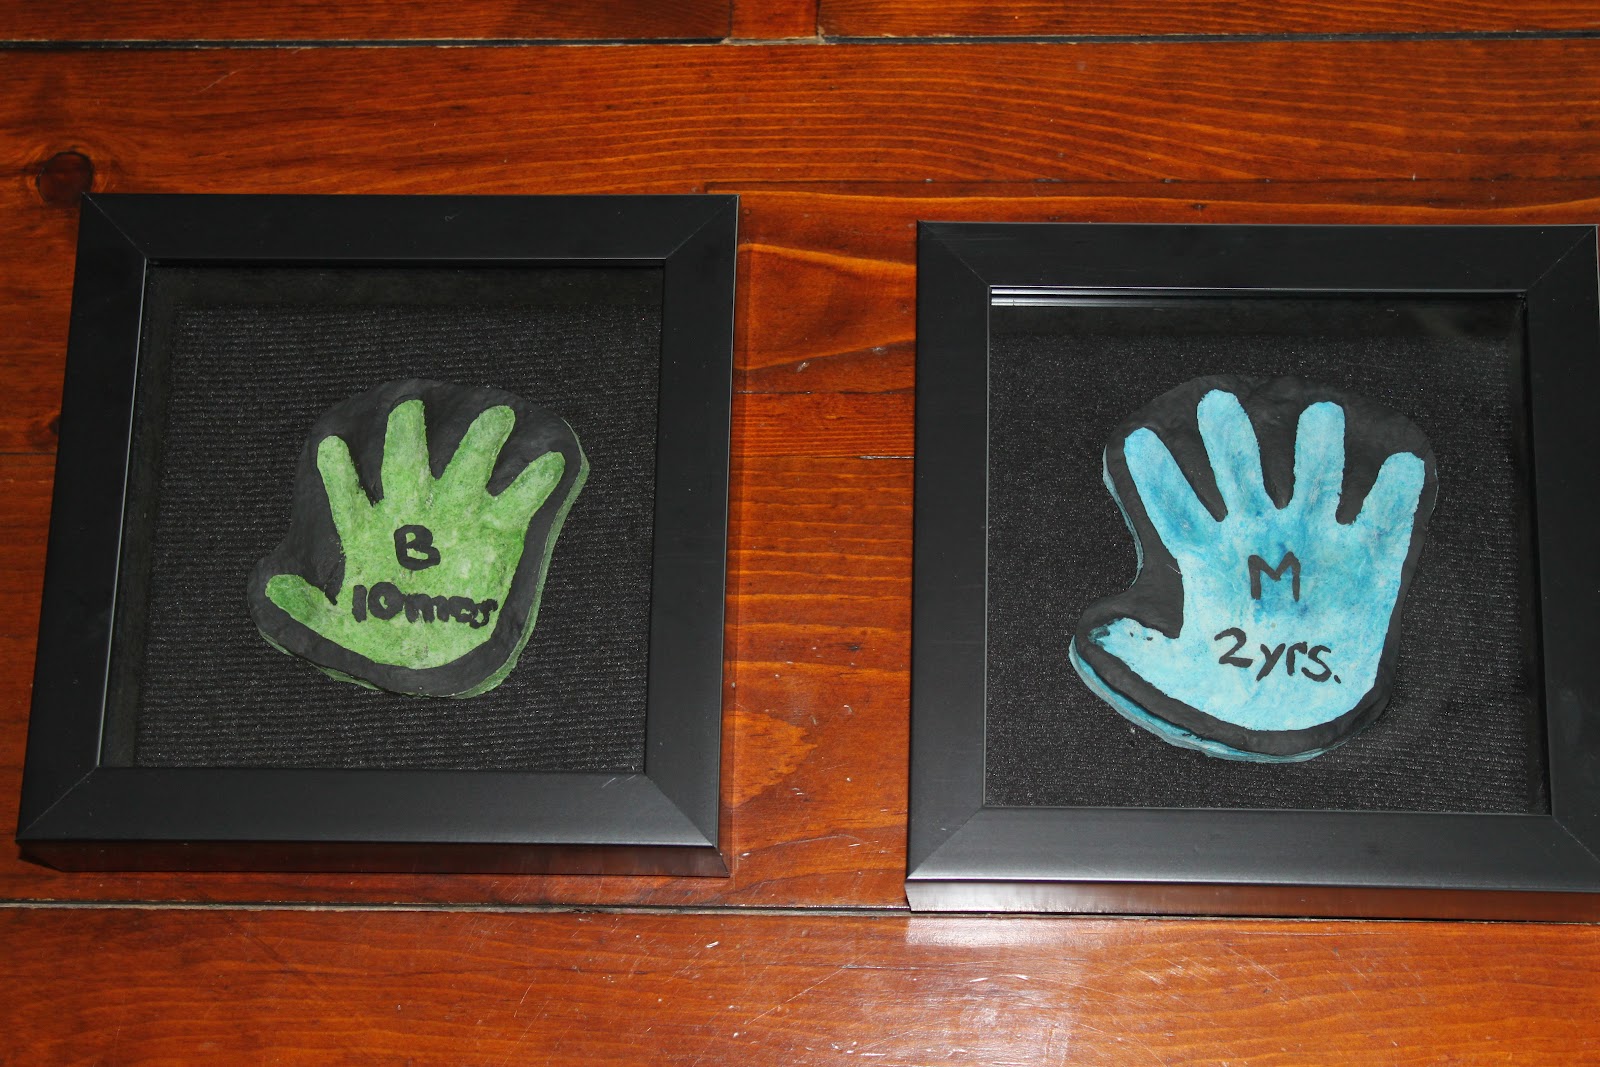
We put the handprints we made for daddy in separate shadowboxes just in case the boys want to keep them as a souvenir when they’re older.
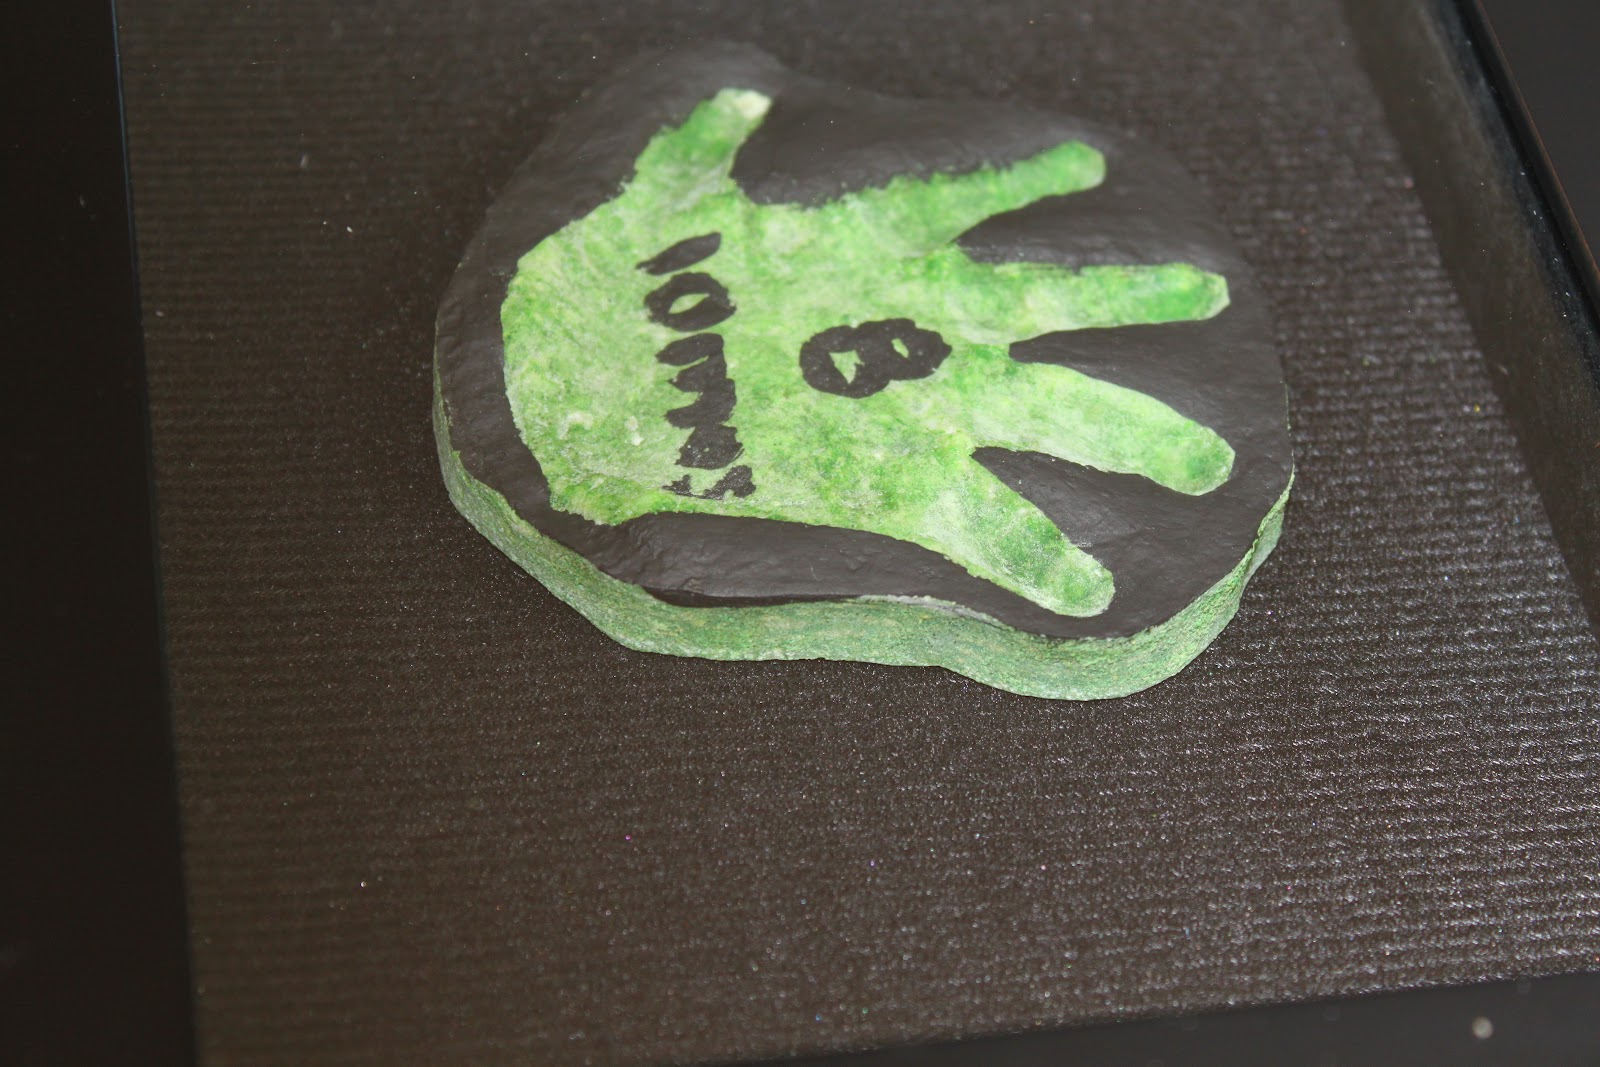
See how adding food colouring to the dough, and having colour throughout, creates depth and adds a pop of colour? You can do the same thing by painting it, but it’s more work.
And that’s what my bugs were busy making for Father’s Day!
Click on the link for more Father’s Day gift ideas 🙂
Happy Father’s Day!
Recent Comments