Since visiting the Spark Science Centre, I thought it would be a lot of fun for the boys to have their own light table to experiment with at home. It wasn’t until we were reorganizing our basement, and getting rid of some clear plastic tubs, that I was actually inspired to make one. I came up with a simple design and soon after, as I was congratulating myself on my clever ingenuity, I decided to Google ‘DIY Light Table’… my ego was instantly deflated. Evidently I was not the only one to come up with this brilliant plan, as you can see here, and here (just to highlight a couple). Haha! Oh well, it was still a HUGE hit with my little bugs
Materials
- a clear plastic storage bin with a clear lid
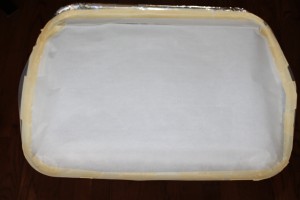
- parchment paper
- tape (I used masking tape because it seems to stick better)
- tin foil or shiny foil wrapping paper (I had some left over from Christmas)
- battery operated lights (I purchased a pack of six LED button lights from Costco, which will also come in handy when we go camping, so I didn’t mind splurging a bit)
How to Make a Light Table
Okay, so it’s not so much a ‘table’ as it is a plastic storage bin, but the idea is the same
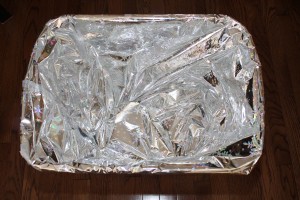
First, I covered the inside of our clear storage bin with foil wrapping paper, to reflect the light upwards (you can also use tin foil).
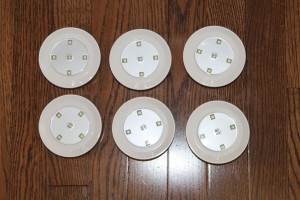
Then I placed the LED button lights into the bottom of our storage bin and we were ready to experiment!
Experimenting With Our Light Table
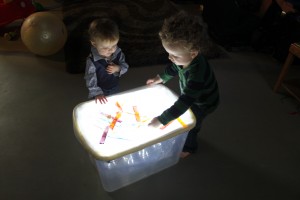
There are so many fun and interesting things you can do to experiment with the effect light has on objects/ substances. Here are some of the things we tried with our light table today:
Freezies
I gave the boys some thawed Freezies to put on the light table so they could see how light travels through a liquid.
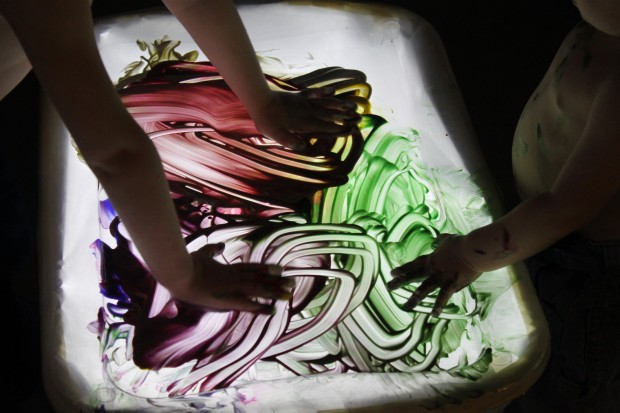
Finger Painting
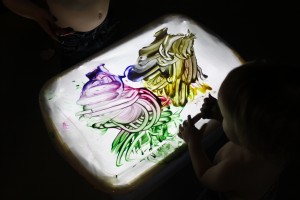
The bugs LOVED this! It was messy, but clean-up was a breeze.
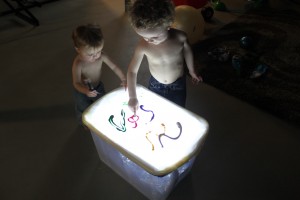
I squirted some non-toxic, tempera paint directly onto the plastic lid for the boys to do some finger painting.
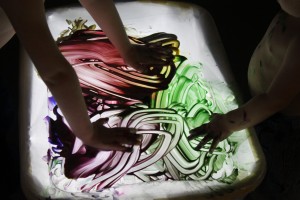
I’m glad I decided to take their shirts off before painting! Look at little B’s tummy all splattered with paint!
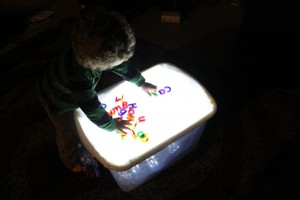
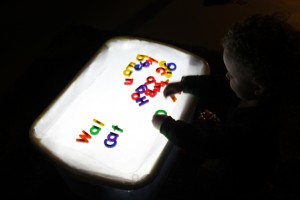
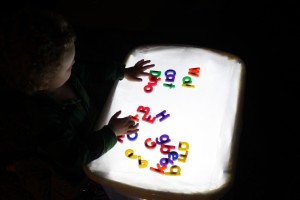
Magnetic Letters/ Word Work
I can tell we will be using our light table a lot more in the days ahead! The boys really enjoyed it (especially the painting).
And that’s how I kept my bugs busy today!


0 Comments
Trackbacks/Pingbacks