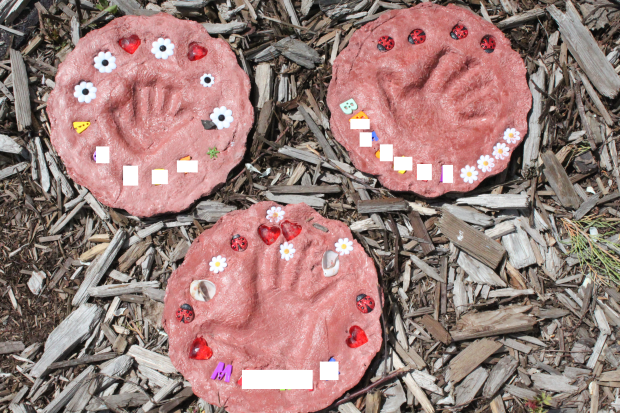
My mom celebrated her 65th birthday last weekend and, as a special surprise, each of the grandkids presented her with a garden stone featuring his/her handprint. She LOVED it! I know these stones will be cherished keepsakes she can admire in her garden for many years to come!
Materials:
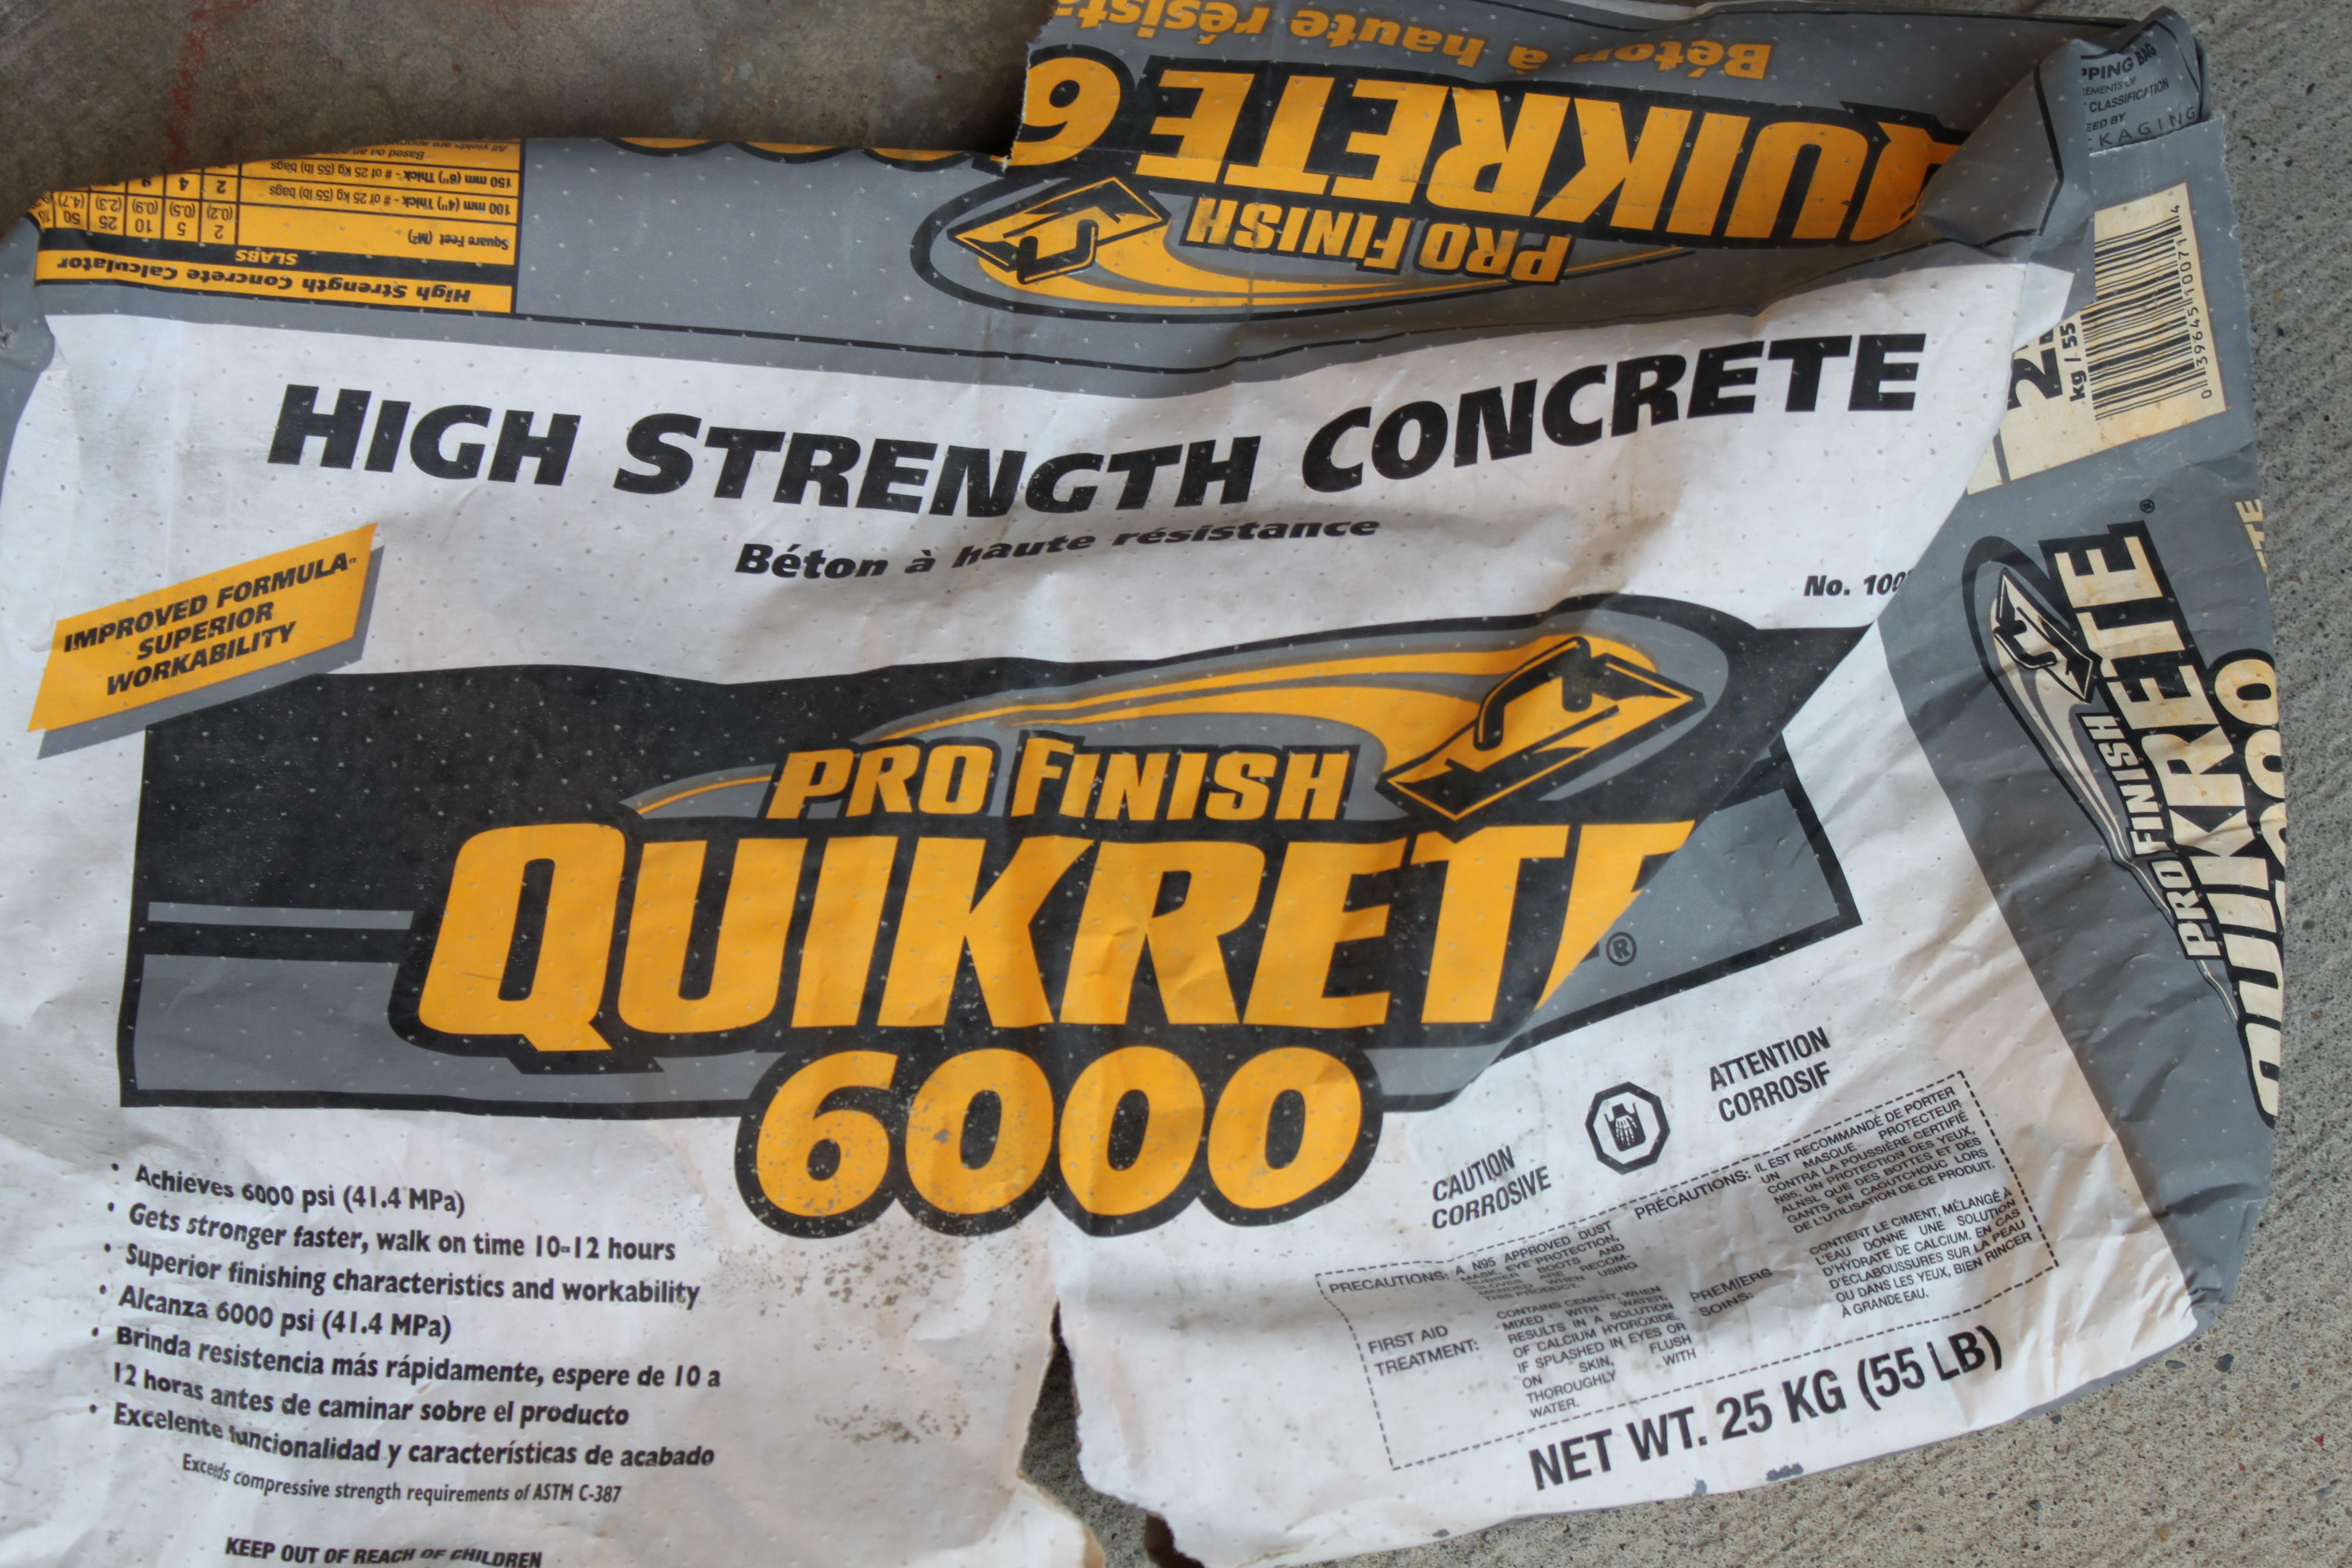
1 bag of high strength concrete (we used Quikrete). You will need a wheelbarrow or a large bucket to mix it in, as well as a shovel or hoe for mixing, and a dust mask.
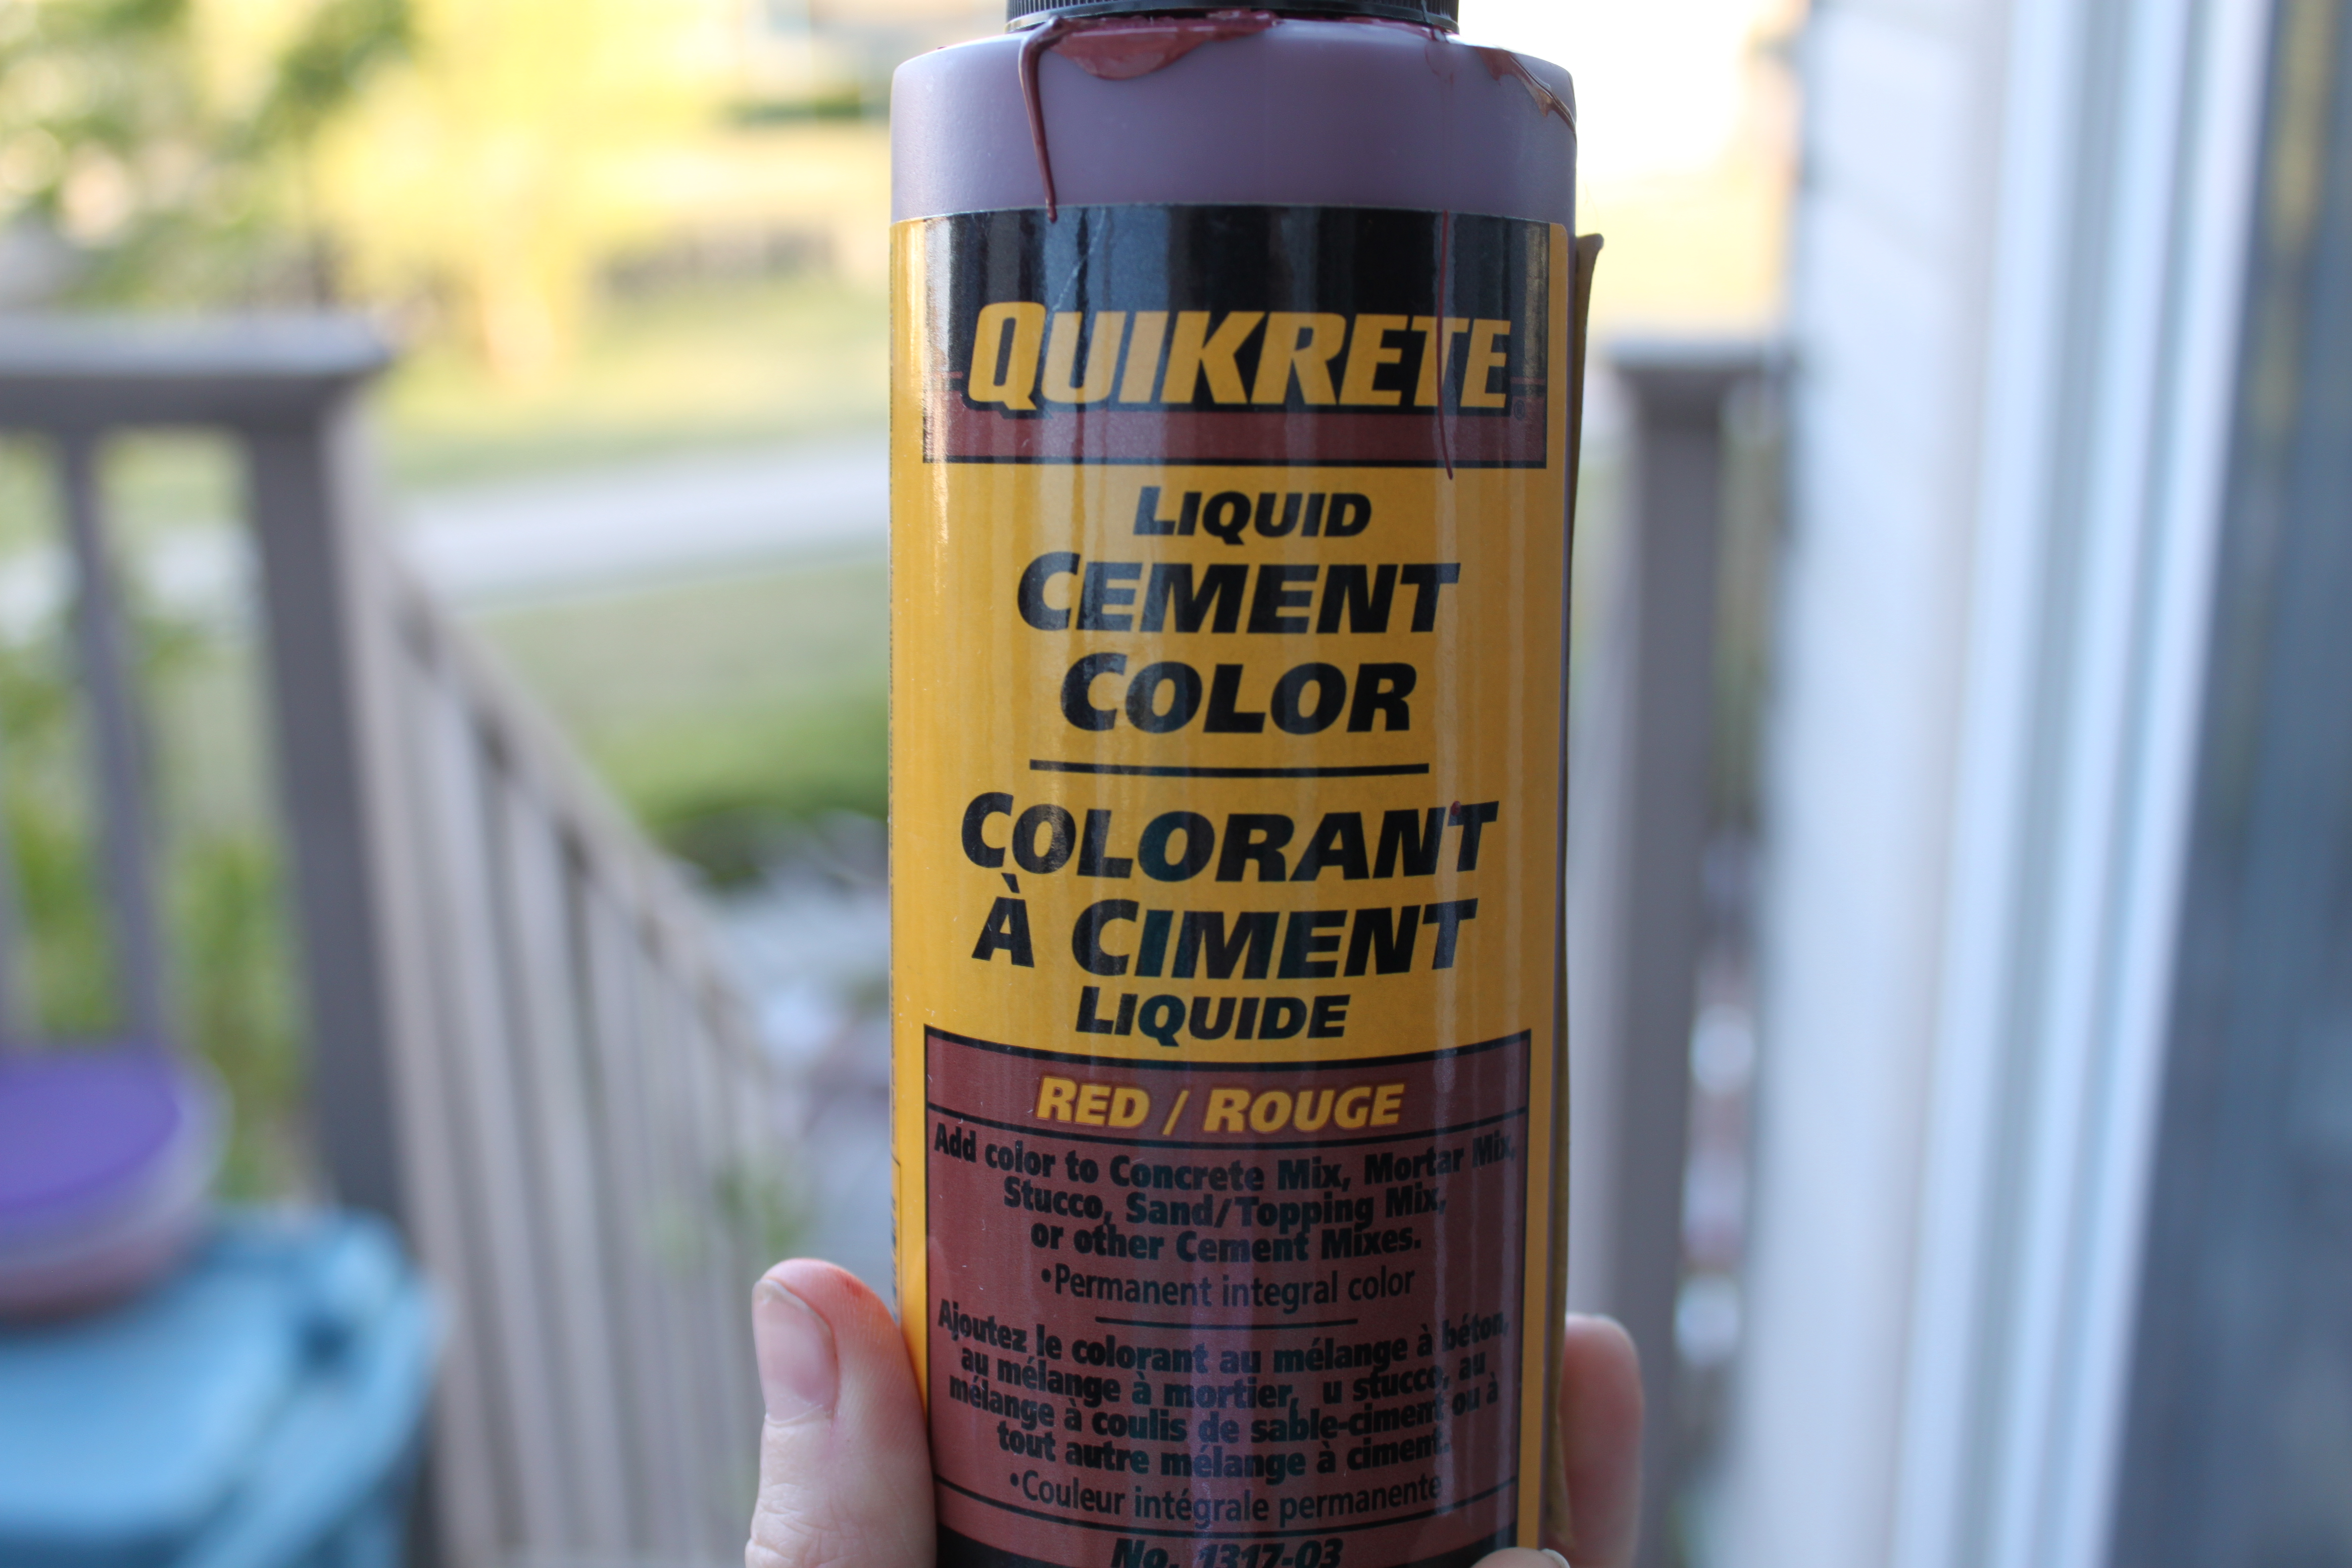
We also made our cement brick red by adding a container of liquid cement colour (also by Quikrete). It is completely up to you if you want to add it or not.
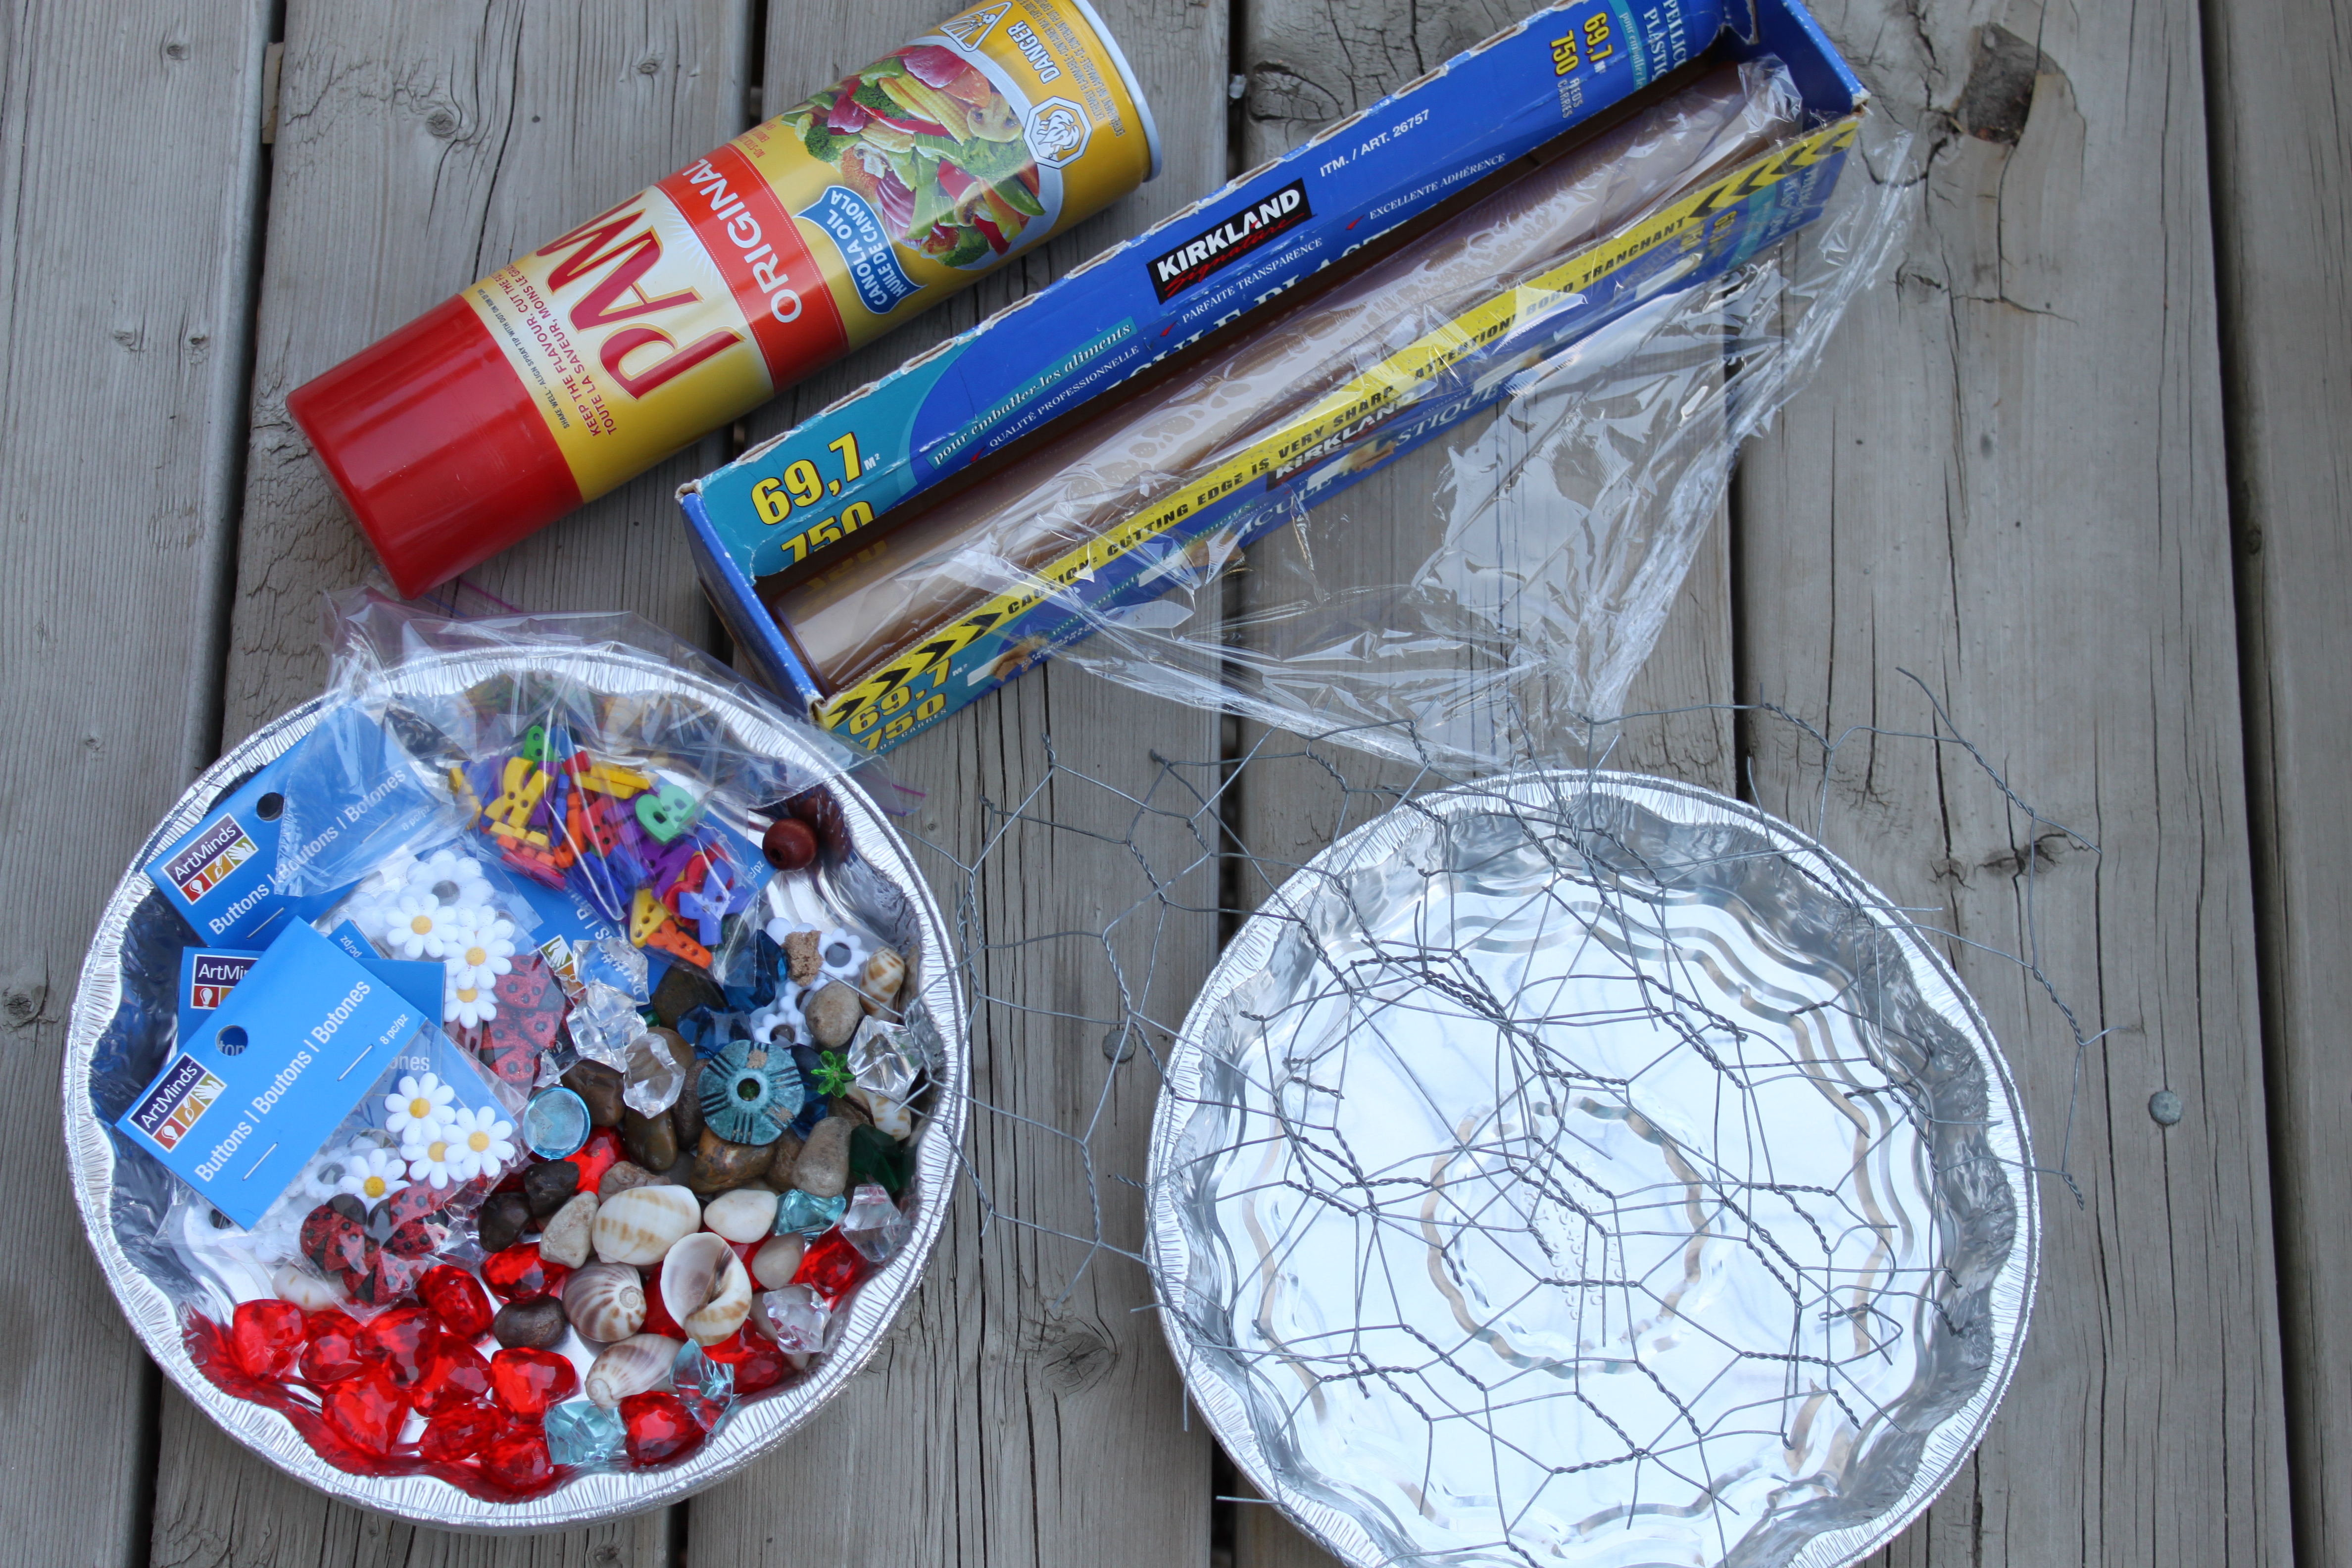
We also used: 9″ round foil cake pans and embellishments from the Dollar Store, cellophane wrap, cooking spray, chicken wire, wire cutters, a trowel, and colourful button letters from Michael’s.
Making DIY Garden Stones
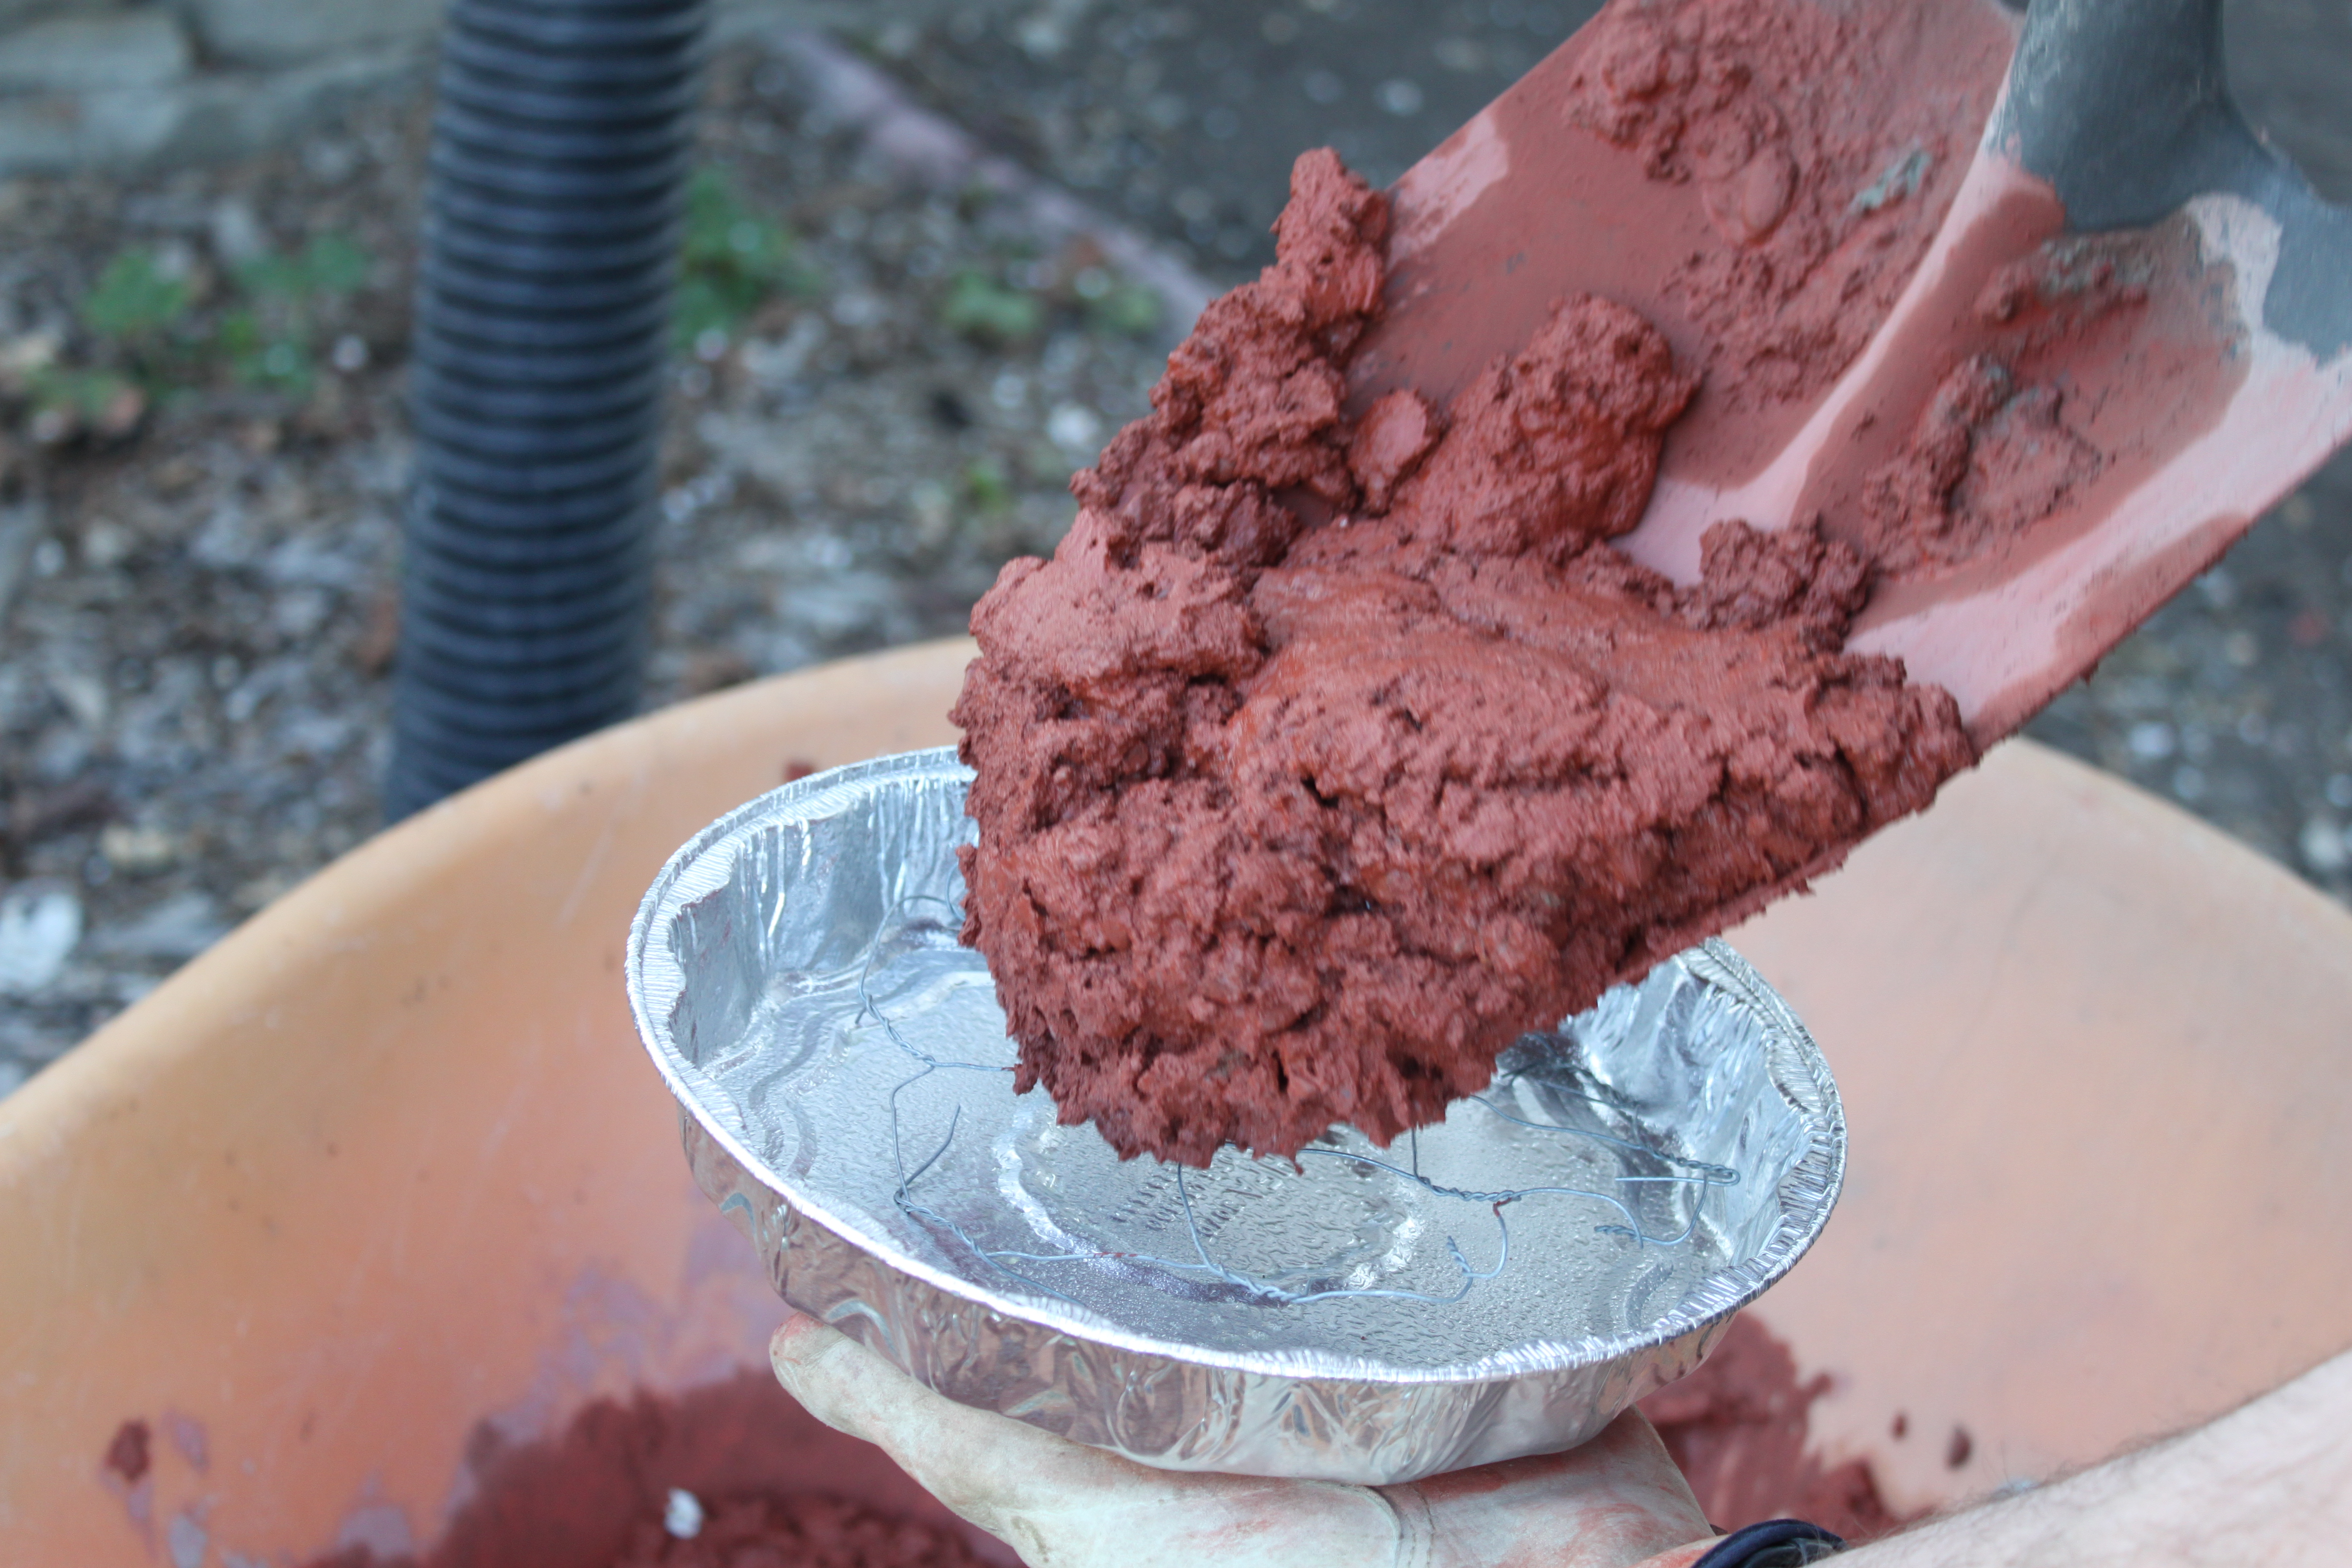
The first thing we did was head outside to mix the cement with some water and the liquid cement colouring, according to the directions on the bag and container. The cement should be the consistency of brownie batter.
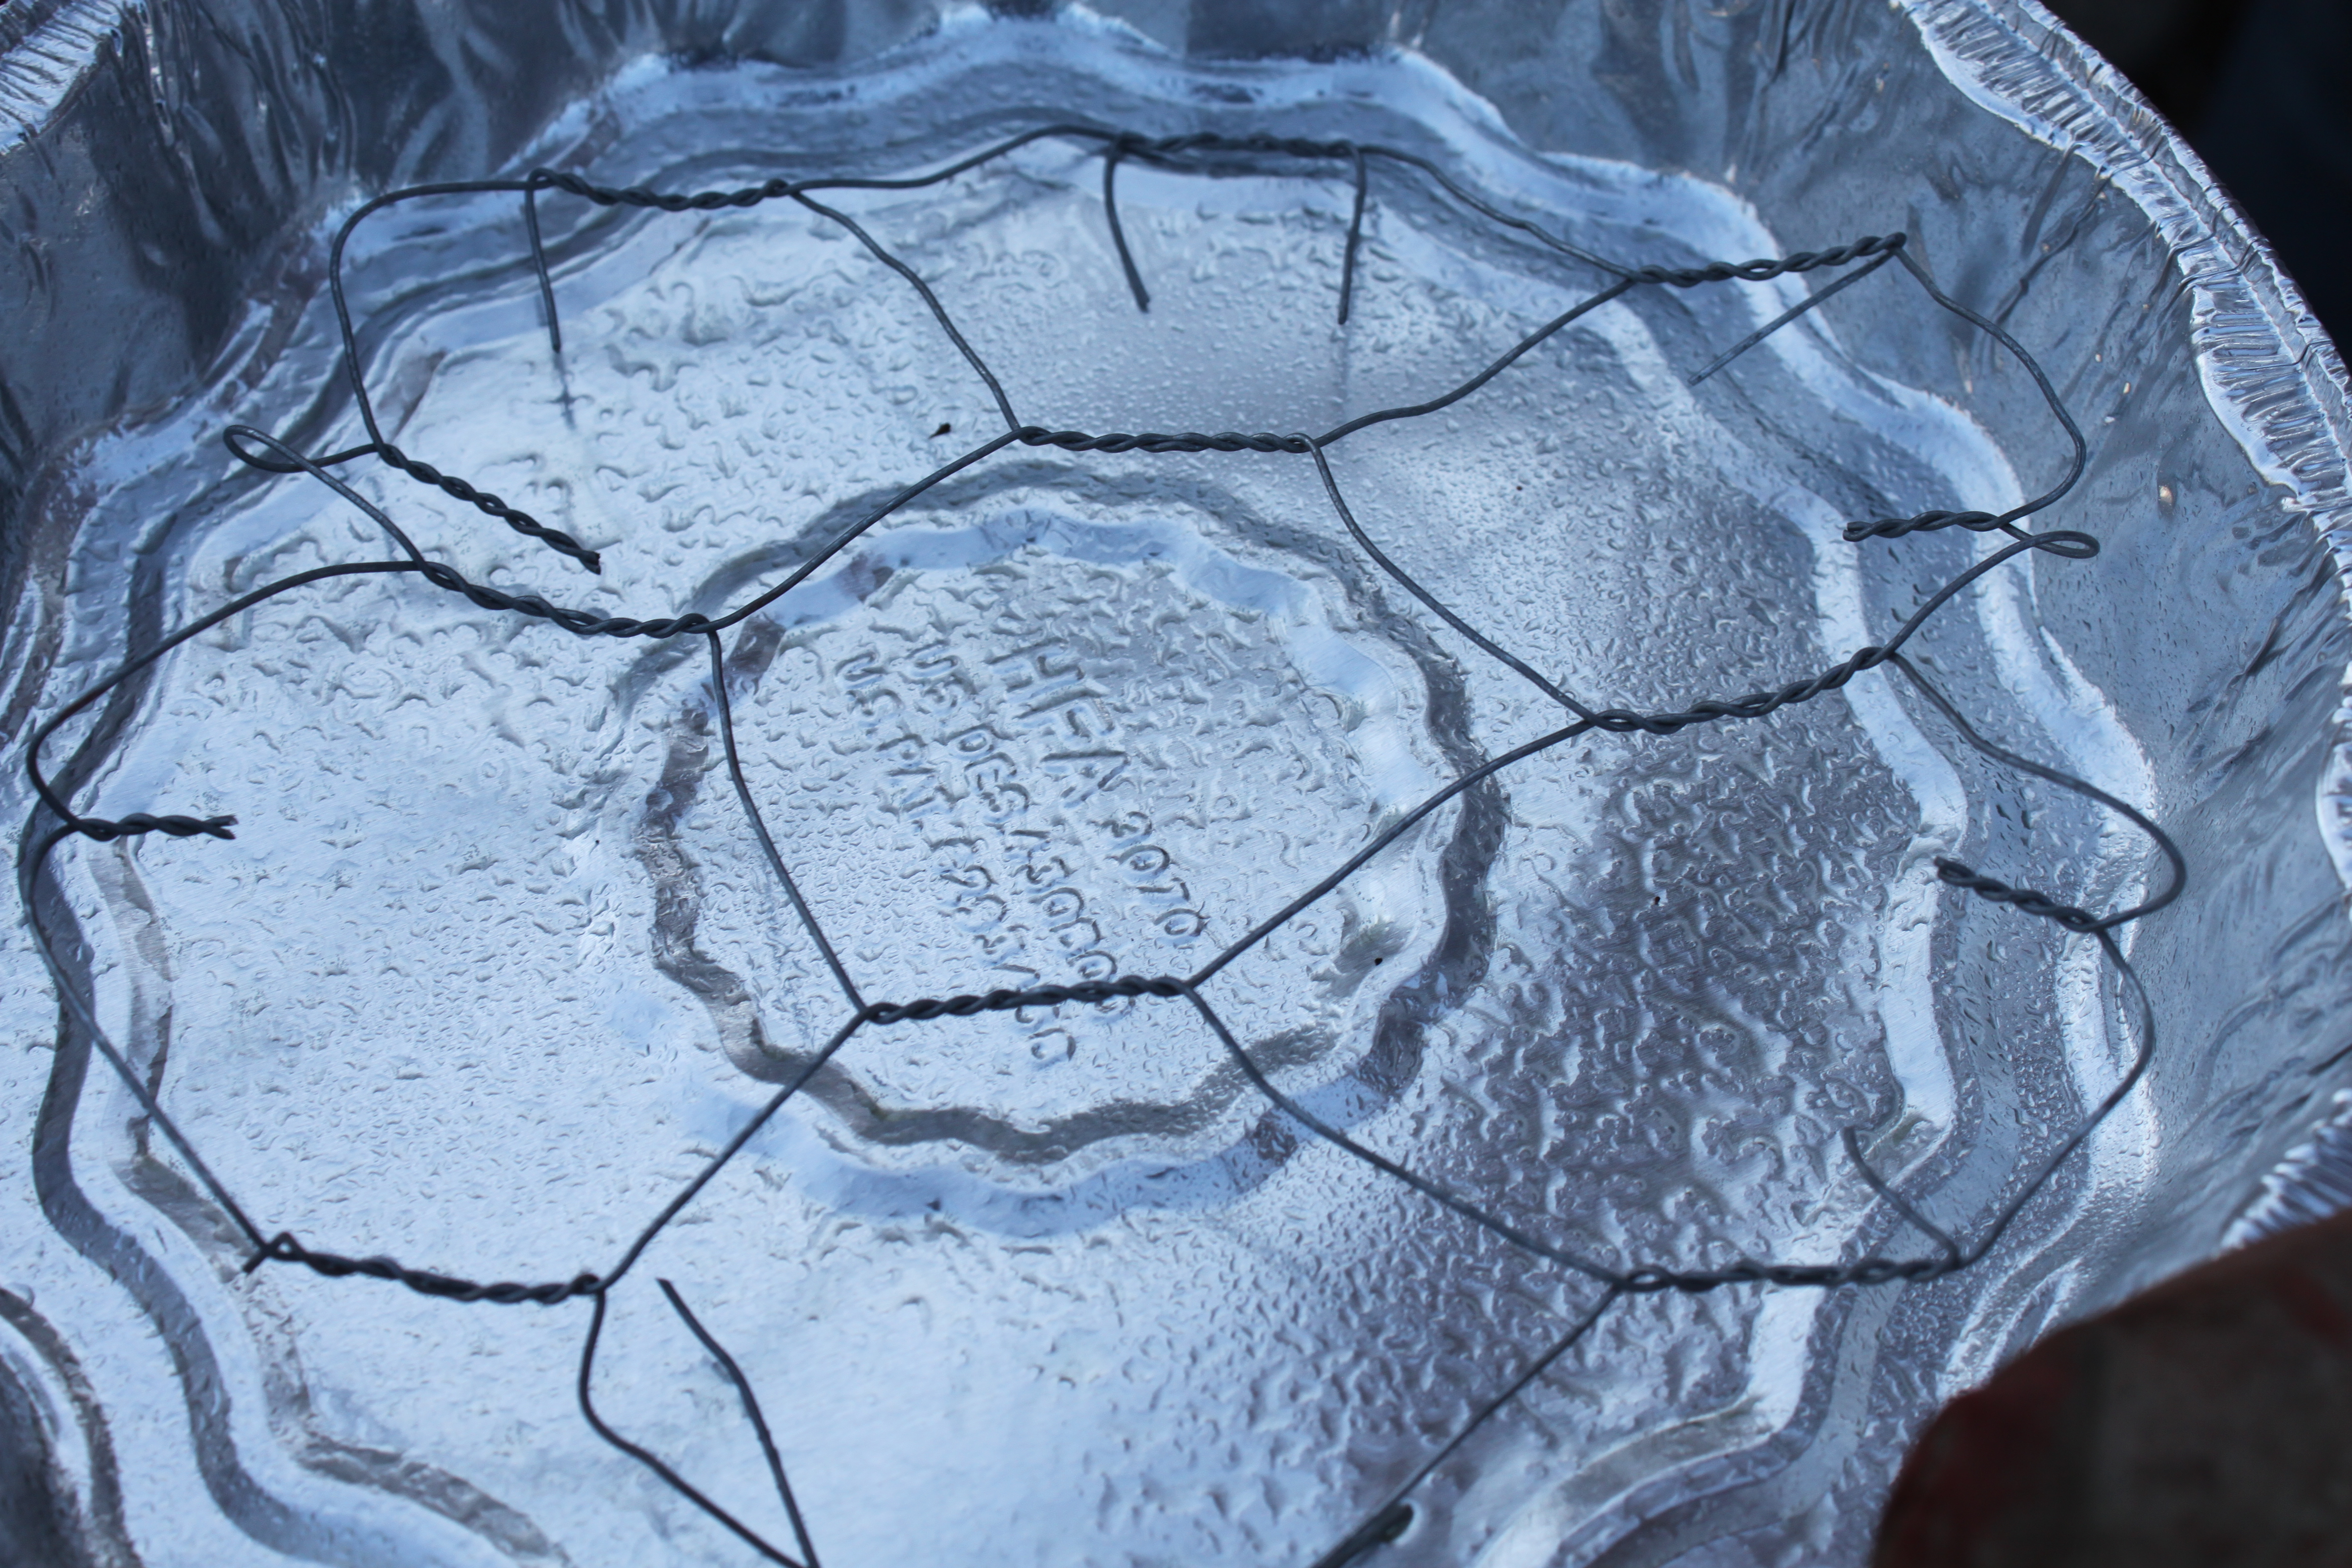
Next, we sprayed the foil cake pans with cooking spray and cut the chicken wire to fit inside each of the pans. The chicken wire helps prevent the stones from breaking apart.
We scooped the coloured cement into the pans and smoothed it out with a trowel. Make sure the chicken wire is completely covered.


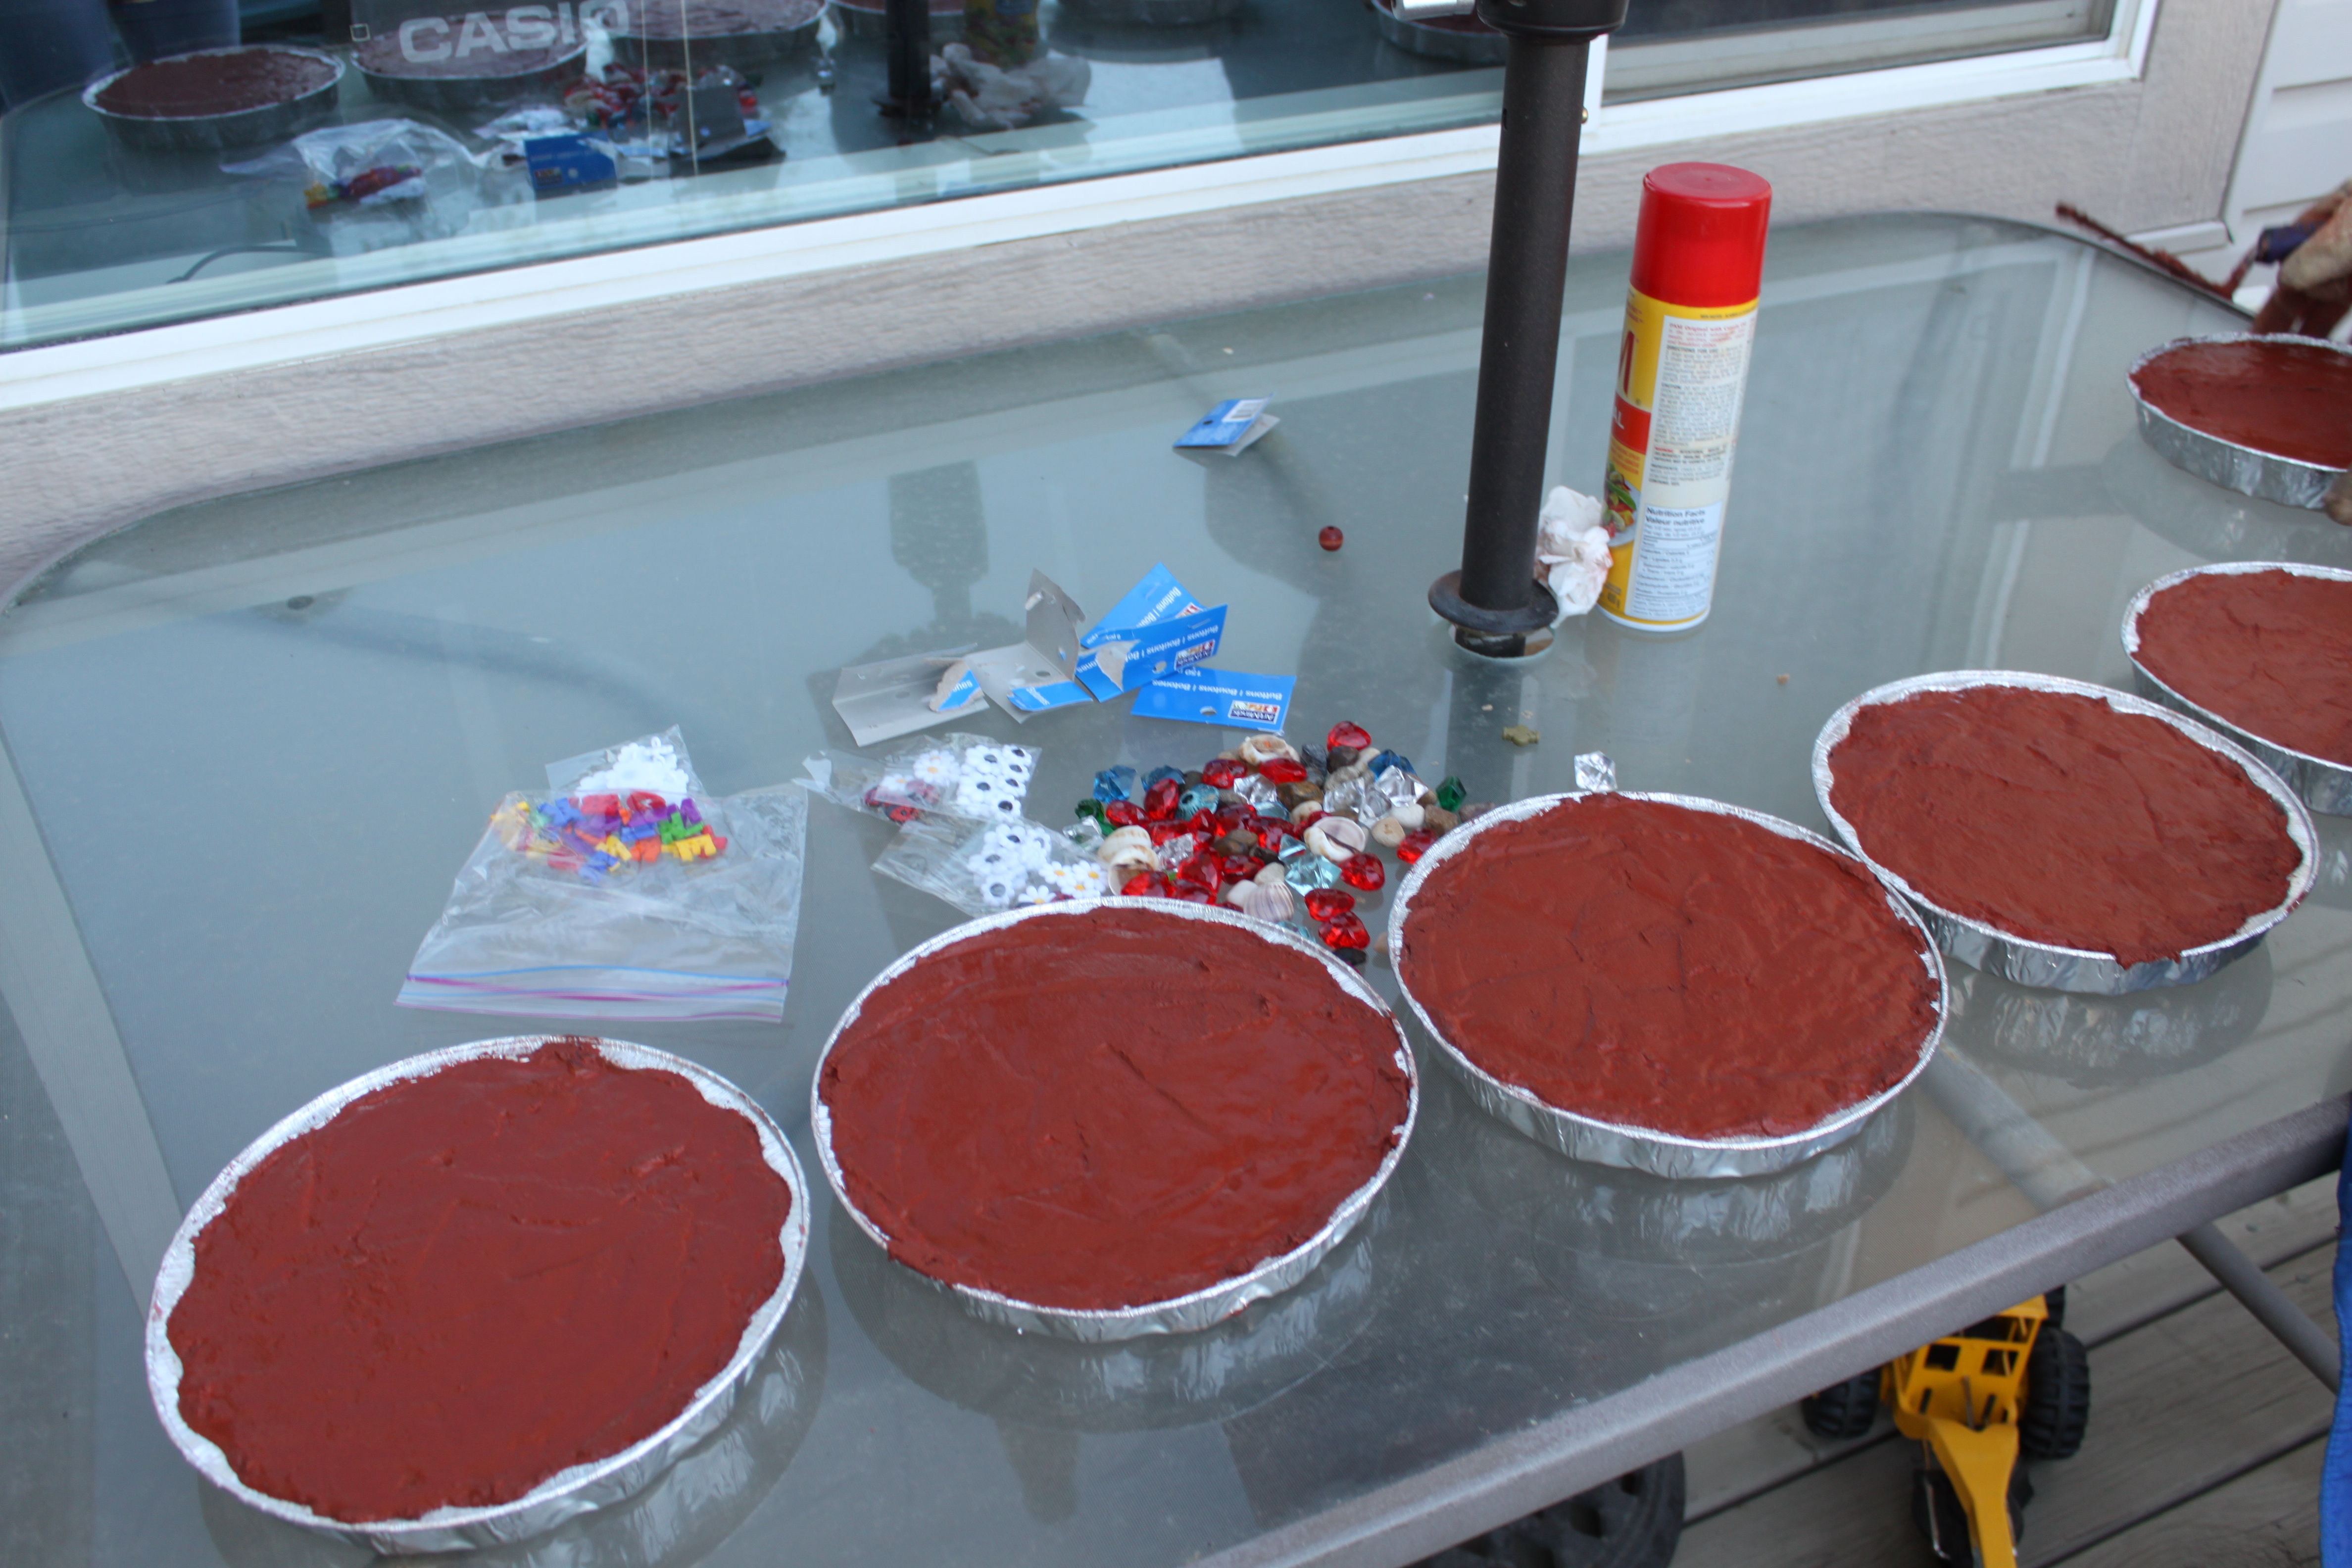
Let the cement set for at least 30min before making the handprints or adding any of the embellishments.
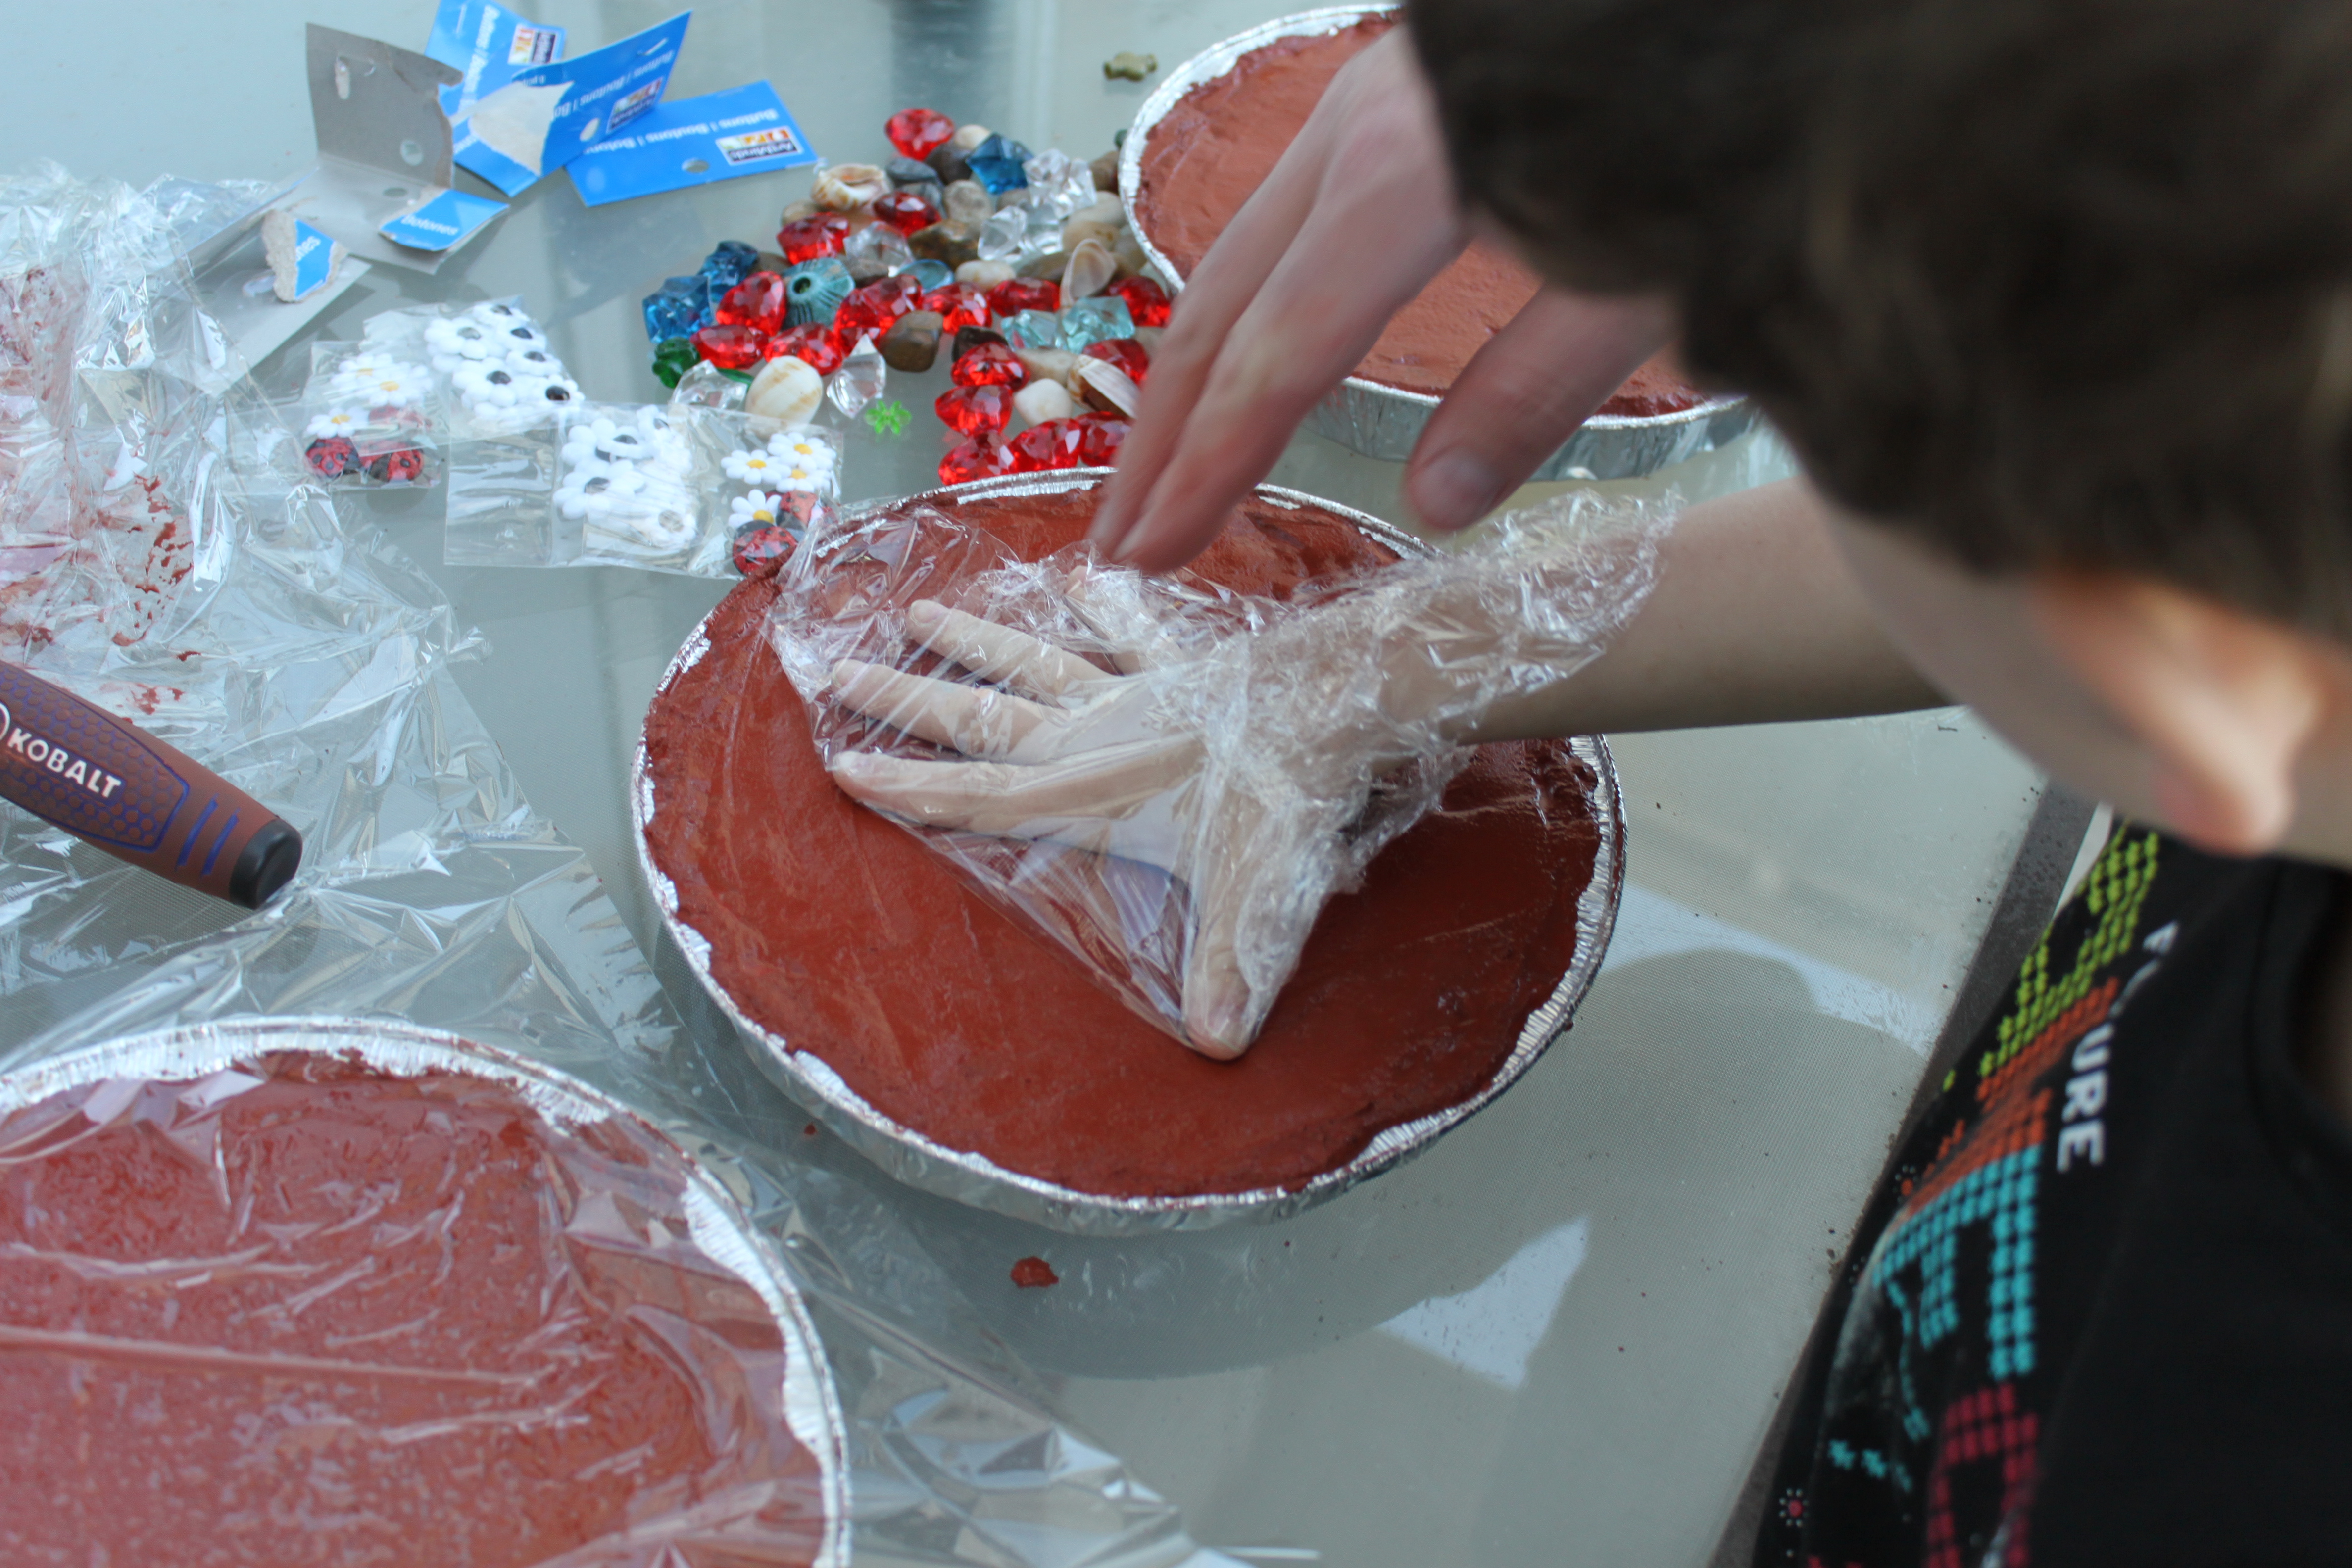
Once the cement was ready, we wrapped the kids’ hands loosely with the cellophane wrap (to prevent any irritation of the skin) and made sure their fingers were spread wide apart. Then we had them place their hand into the centre of the circle, and firmly pressed down each finger and palm, to make a clean imprint.
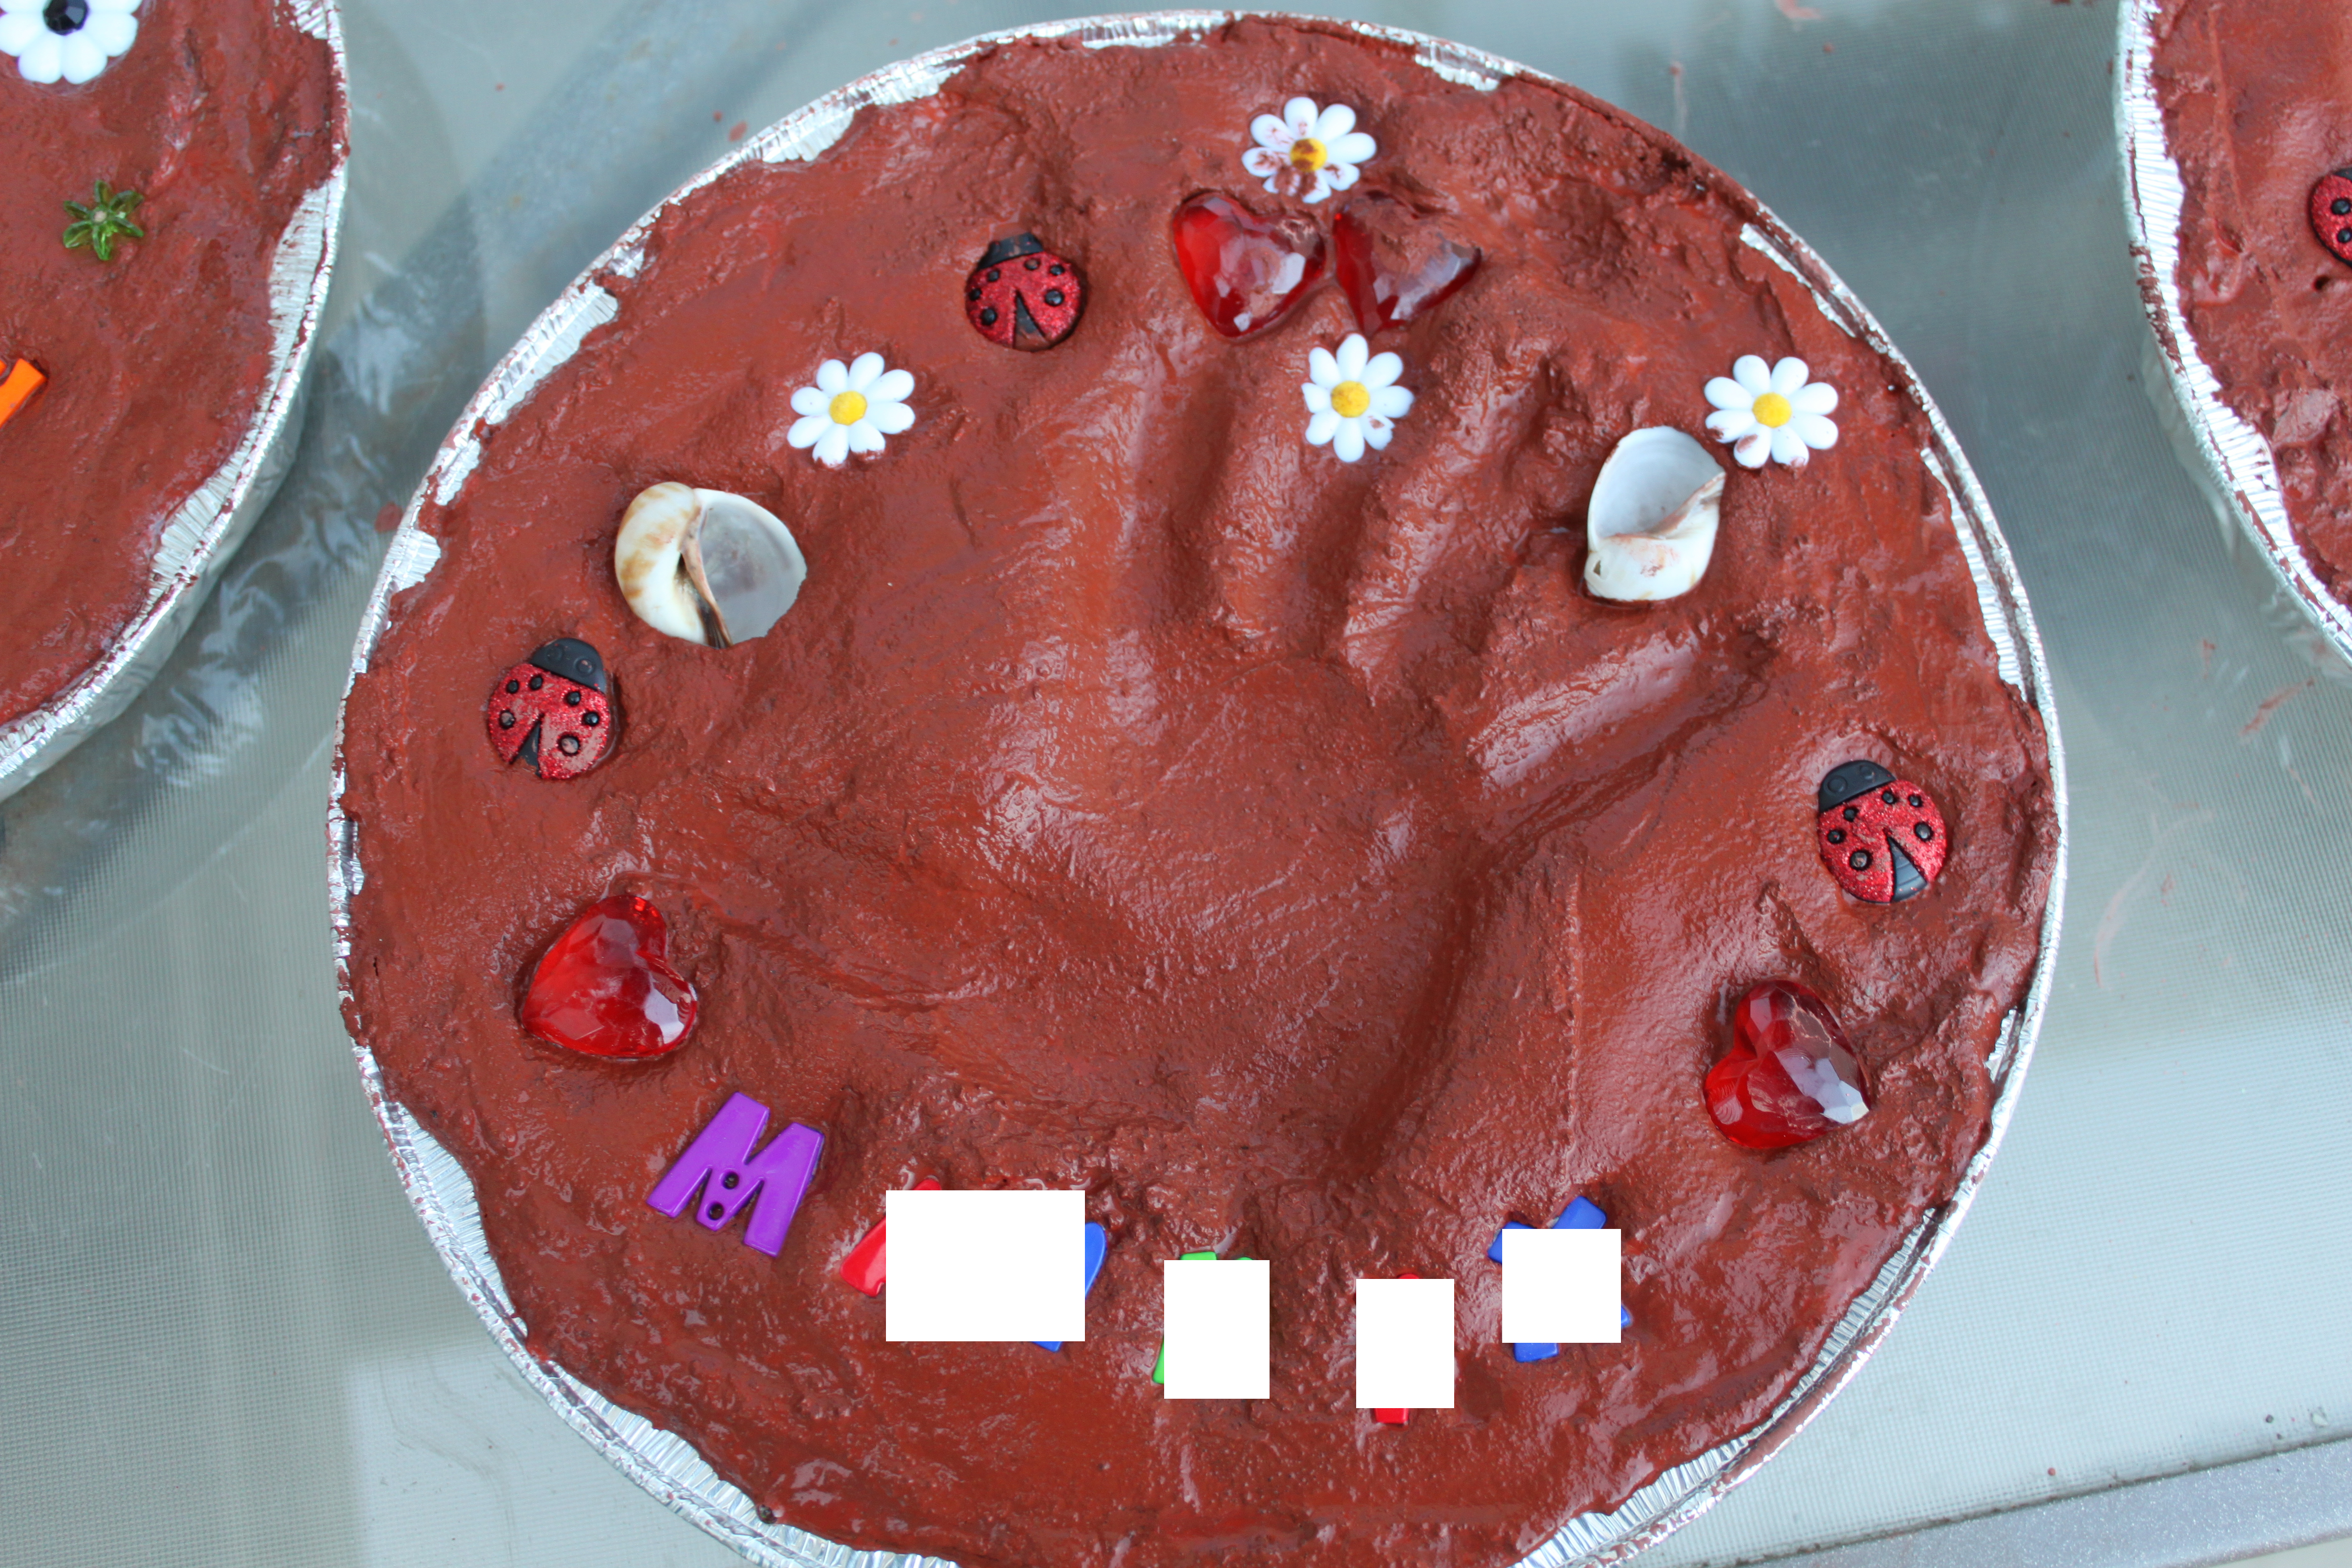
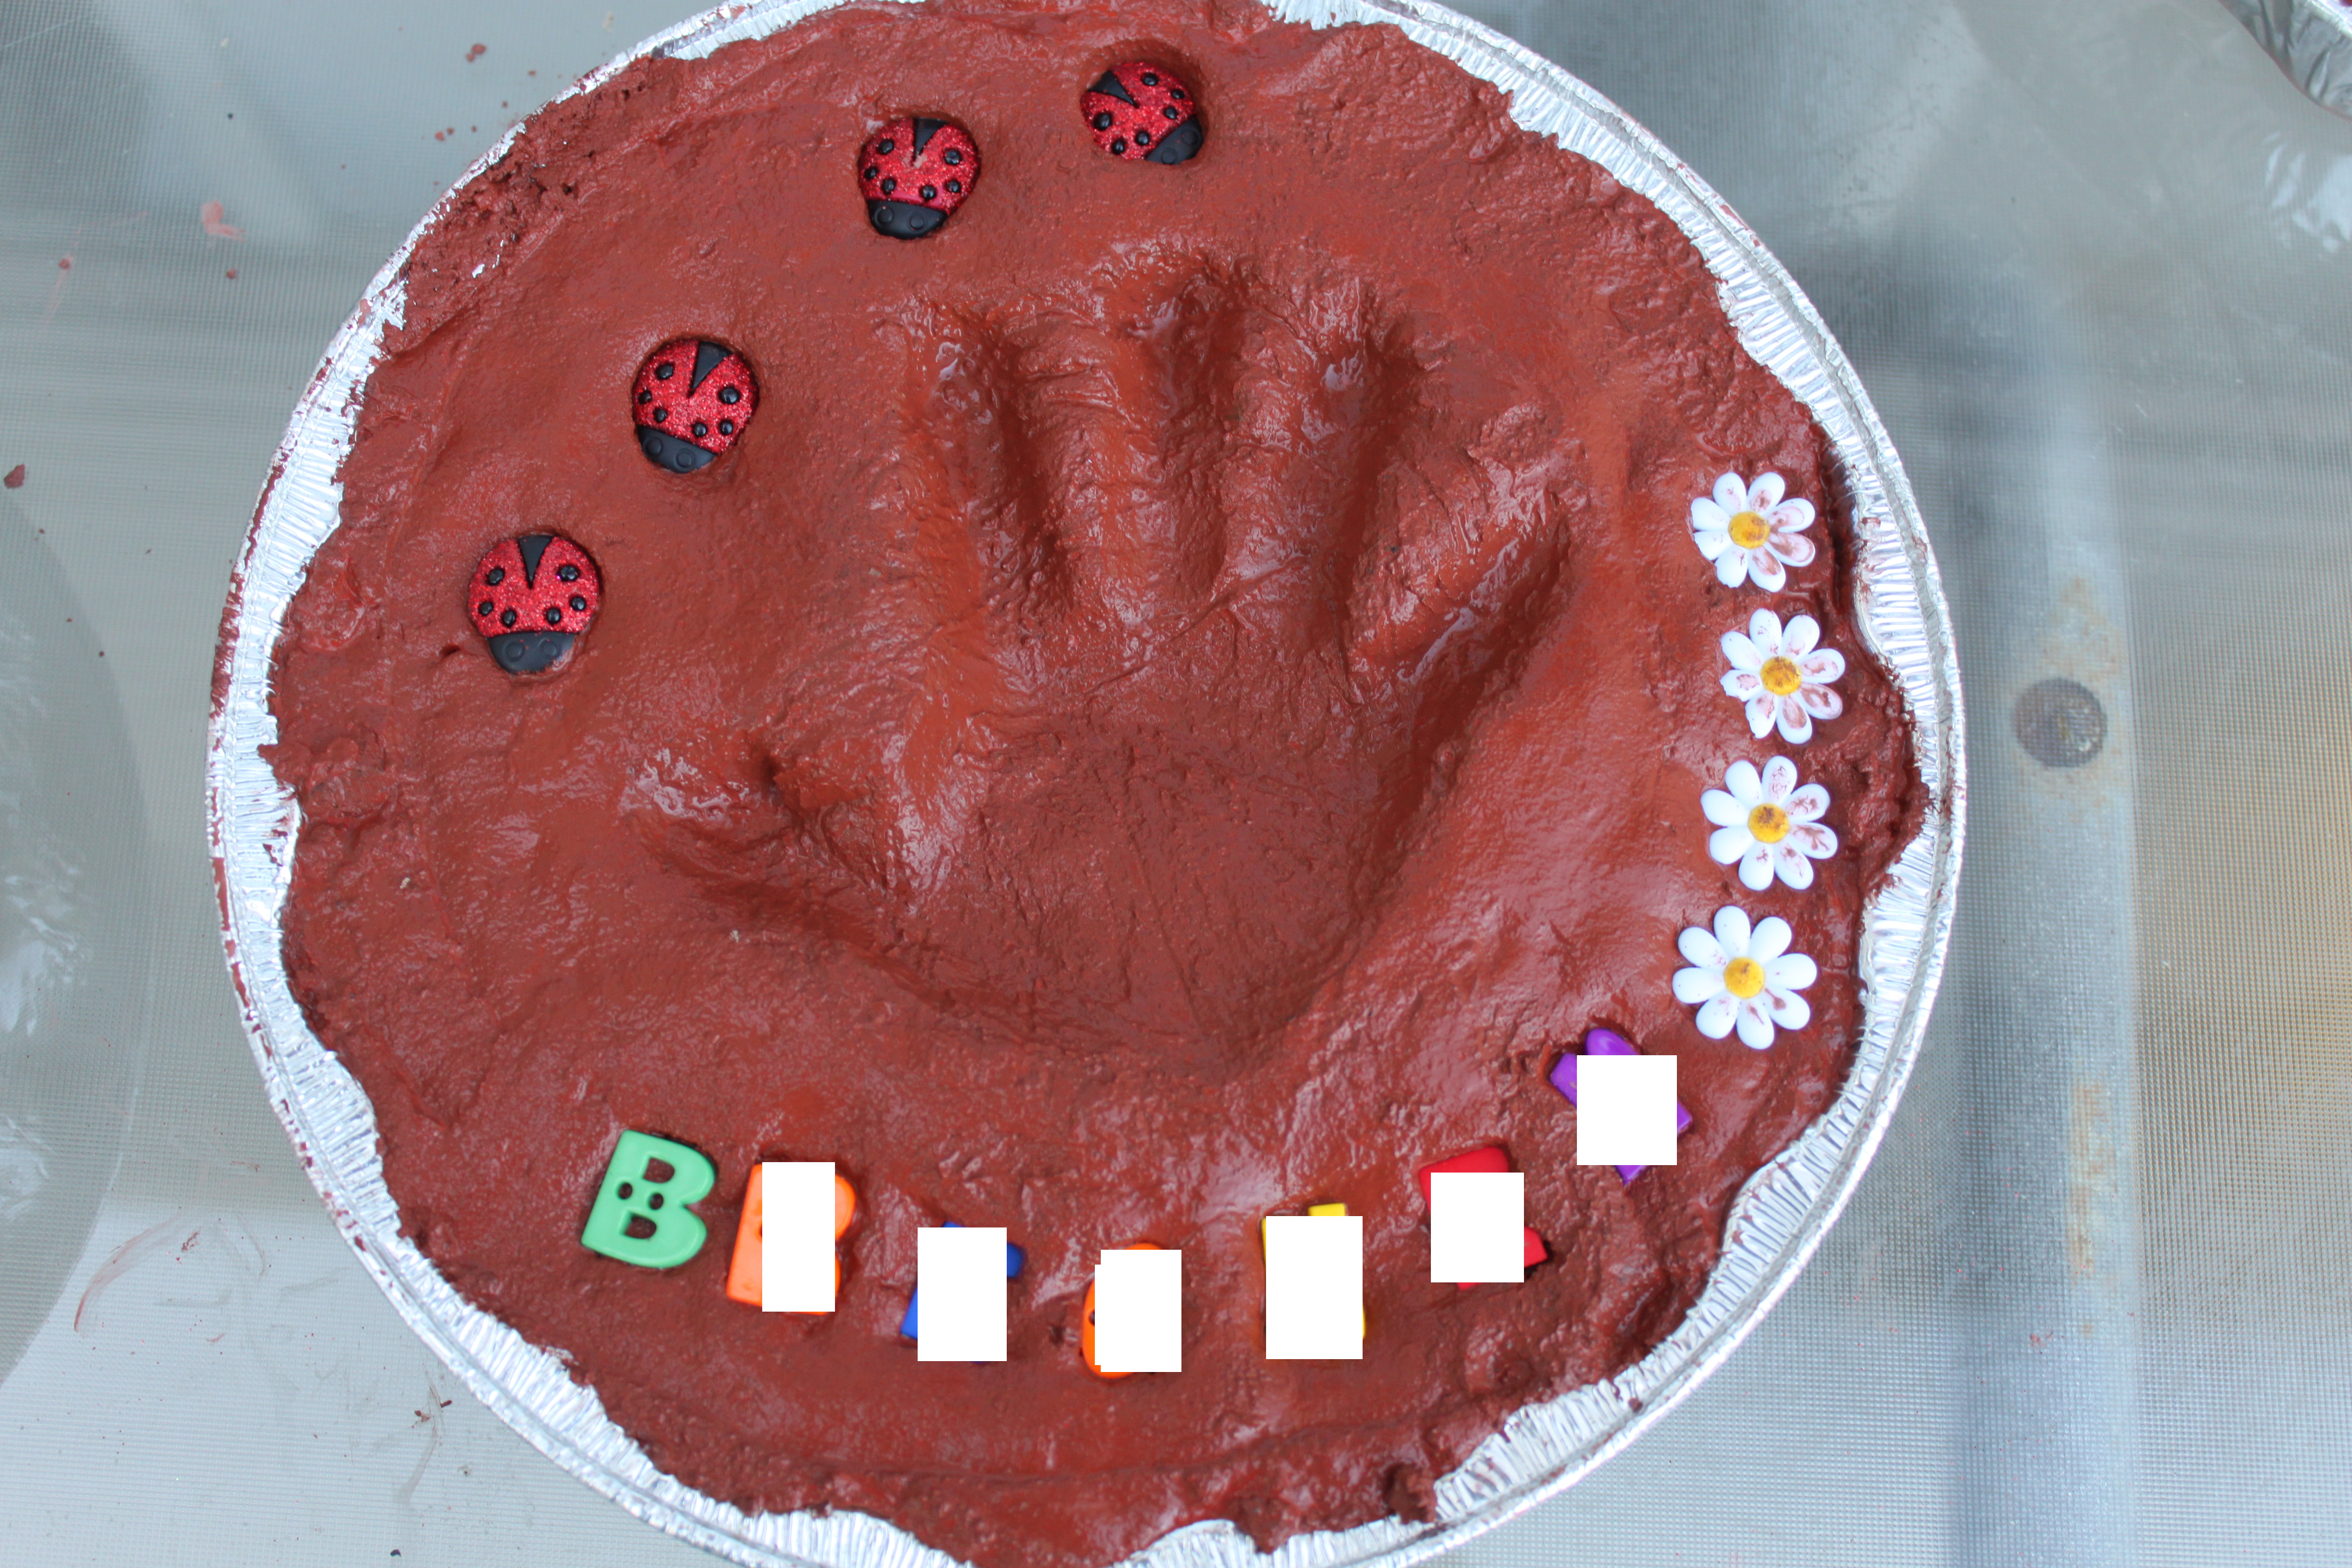
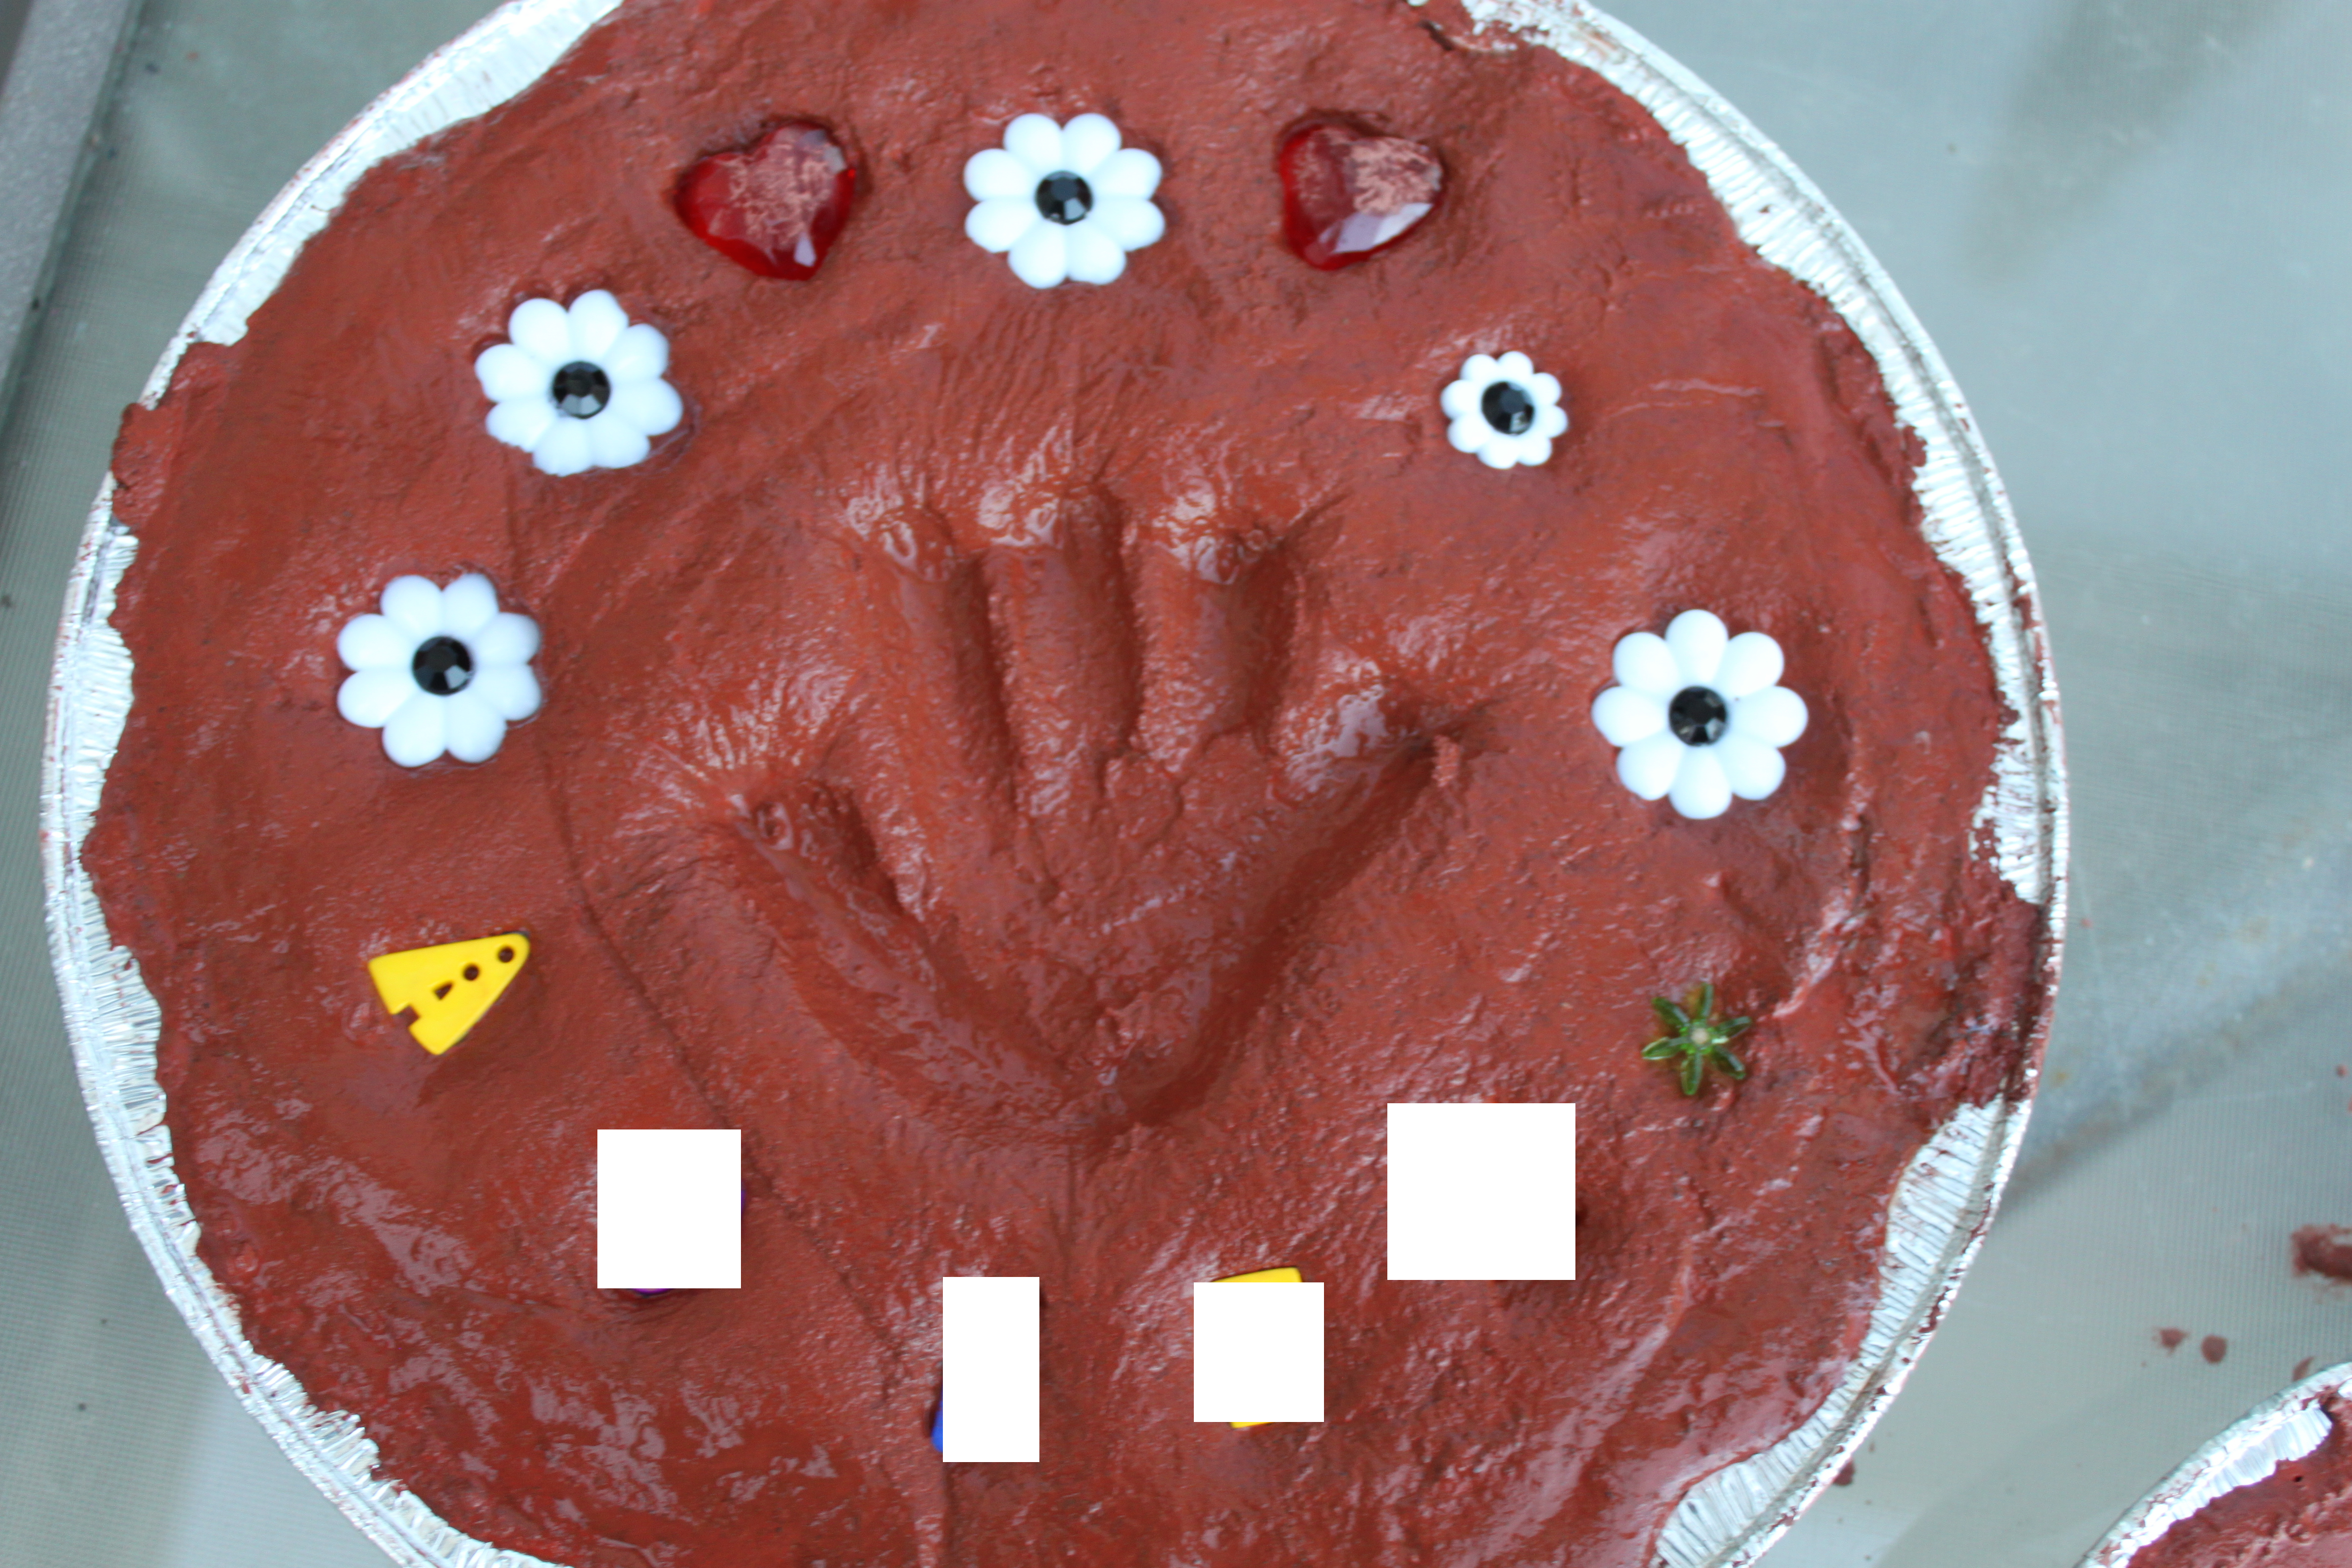
We removed the cellophane, and told our bugs to decorate their garden stones with the assortment of stones, buttons and shells. I found some colourful letter buttons at Michael’s, which we used to spell out their names.
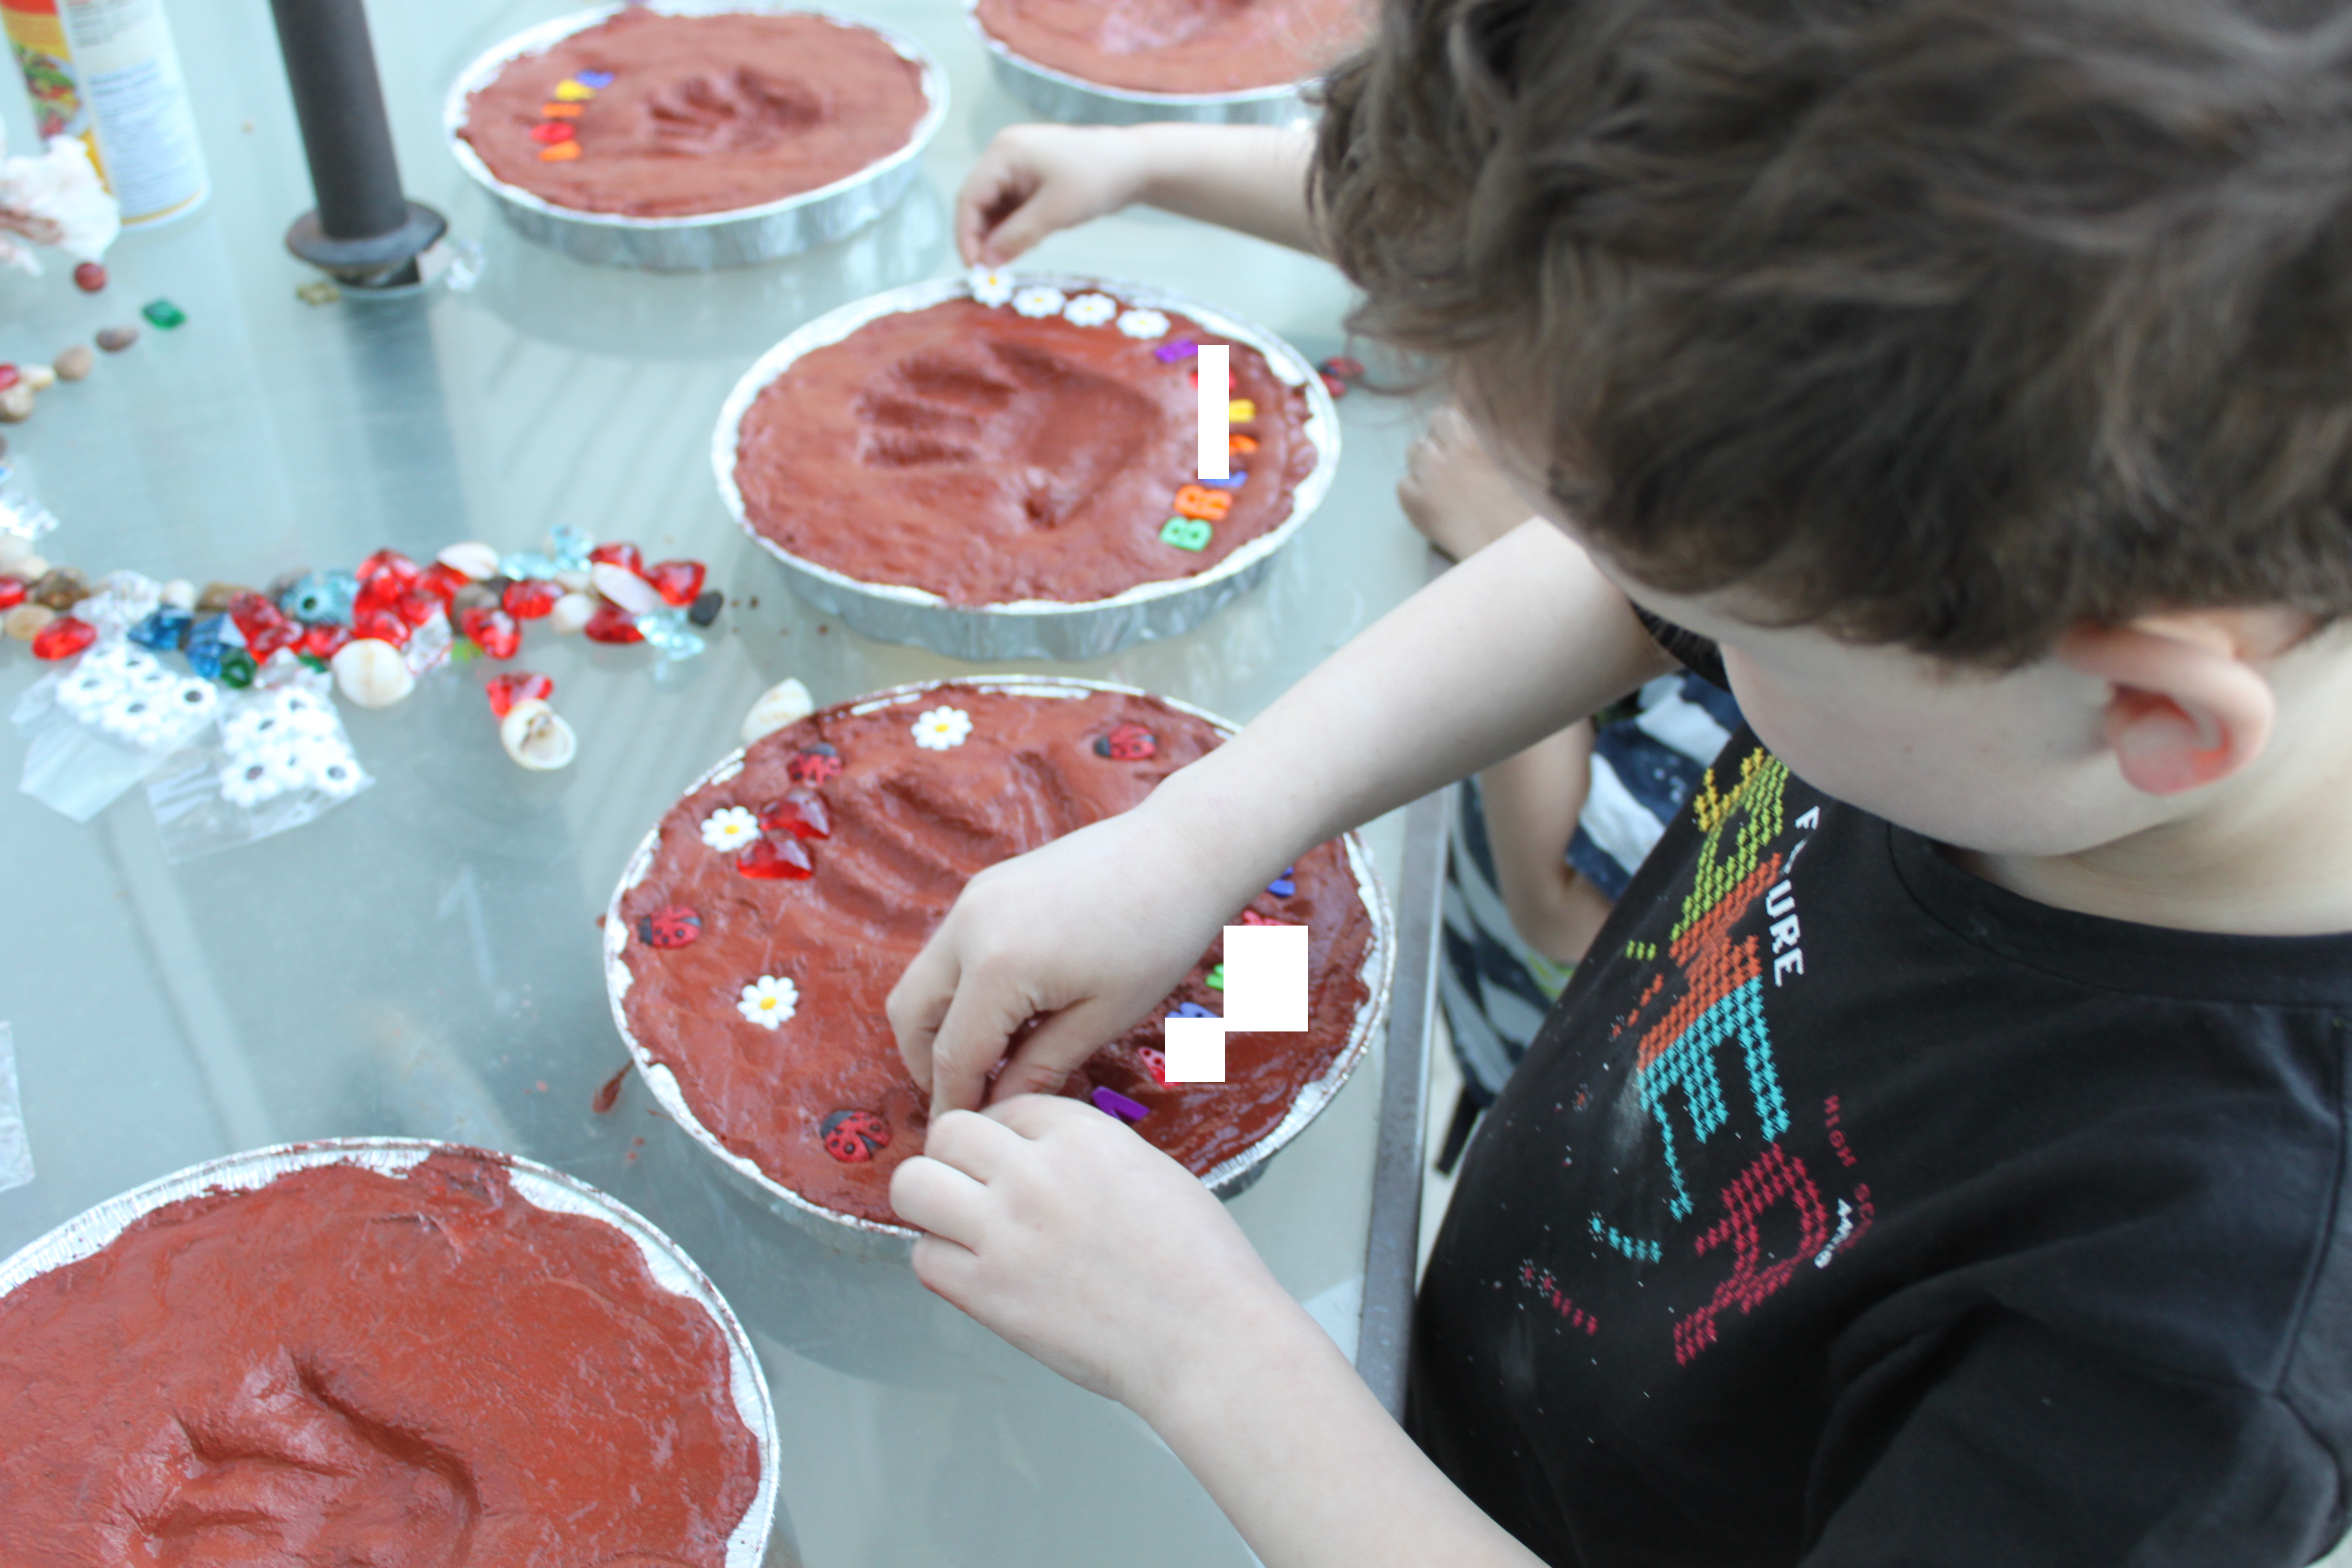

When they were finished decorating, we left their garden stones outside on the deck to bake in the sun.
The next morning, I popped the stones out of the cake pans and flipped them over to finish drying. It took about 24hrs for them to dry completely.
We made a set for Nana and a set for our garden as well. I love seeing my bugs’ sweet little handprints suspended in time. It is such a simple way to capture a precious, ephemeral moment from their childhood.

Click on the links for more handprint/footprint gift ideas and garden projects.
Thanks for stopping by!
Recent Comments