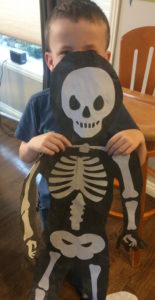
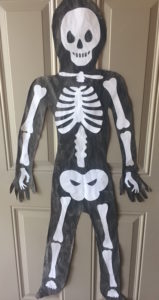
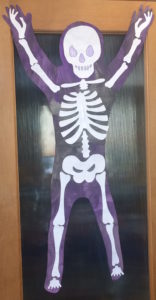
My bugs really enjoyed making these life-sized skeletons, using their own bodies as the outlines. Not only do the skeletons look ghoulishly fantastic hanging on the door and in the windows, but it is was also a great way for them to learn about some of the different bones in their body!
Materials:
- roll of easel paper
- tempera paint (Halloween colours: black, purple, orange…)
- paint brushes/ rollers
- scissors
- marker
- skeleton bones template
Halloween Skeleton Craft
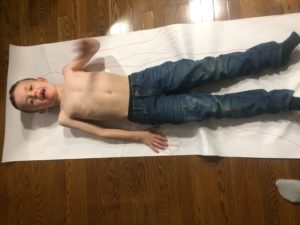
I started off by tracing an outline of each kid onto easel paper. I used a marker, instead of pencil, so the outline would be visible on the back of the paper, making it easy to cut out later.
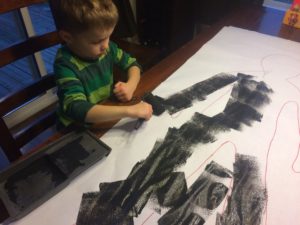
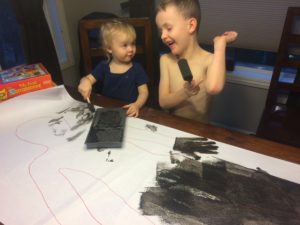
Next, I had my bugs paint their silhouettes using black and/or purple tempera paint. They didn’t have to worry about staying inside the lines being that we were just going to be cutting them out. I had a little roller for them to use to help speed things along.
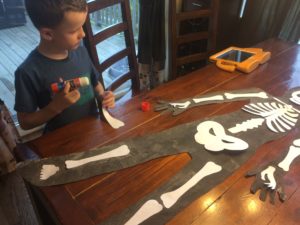
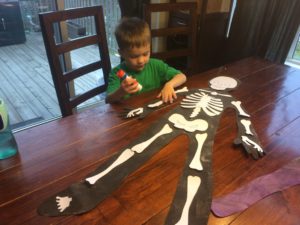
While they were busy painting, I printed off the skeleton bones template and cut out the bones. Of course, the older kids could cut them out on their own. I found the skeleton bones were a good size for my 2 year-old and 5 year-old, but I had to enlarge the pelvis, arm bones and leg bones for my 7 year-old; I did this by tracing around the regular templates and expanding them to fit his silhouette.
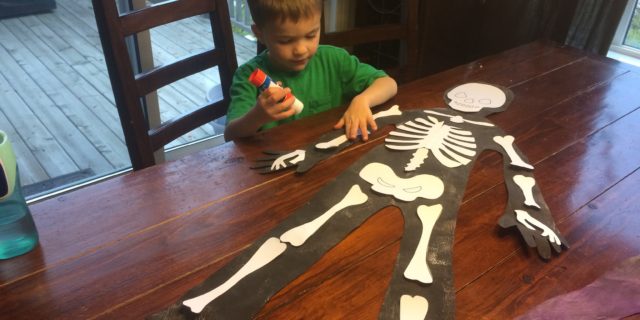
I gave my boys the bone cut-outs and tried to see if they could assemble them on their own. We discussed the names of each of the bones, and I had my boys feel where each one was on their own body. Once the bones were in their correct positions, my bugs glued them in place.
They turned out really great! I love that I will get to see these each Halloween, reminding me of how much my bugs have grown.
Click on the link to see some of our other Halloween activities.
Thanks for stopping by!
Recent Comments