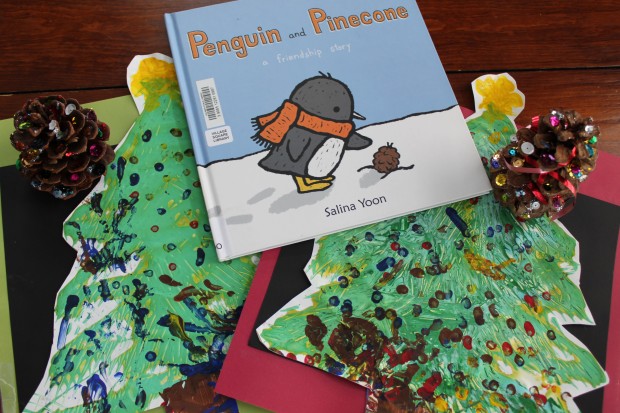
The boys and I both really enjoy reading the picture book Penguin and Pinecone: A Friendship Story, by Salina Yoon.
It’s a sweet story about a penguin who finds and befriends a lost pinecone, but soon discovers that his new friend is not suited to living in the cold conditions of Antarctica. Pinecone loves his new friend, but he is always cold even when Penguin tries to warm him up by wrapping him in an orange scarf. Penguin decides to take his friend to a warmer climate, where he will be able to grow big and strong. After a long journey, the pair finally come upon a forest. Penguin makes Pinecone a cozy nest and the friends say good-bye to one another. Penguin returns to his home, but never stops thinking about his friend. After a long time, Penguin decides to visit Pinecone to see if he had grown big and strong as he had. When Penguin arrives at the forest, he can’t find Pinecone anywhere, instead he notices a big, strong pine tree with the same orange scarf tied around it; Pinecone was now a pine tree! This is a very cute story about love and the power of friendship to persevere even when people are miles apart.
Being that this story revolves around the growing friendship between a Penguin and a Pinecone, I thought it would be fitting to do a couple of art projects involving a pine tree and a pine cone. First I had to give M and B a quick lesson about pine cones and how they release their seeds that eventually grow into pine trees. I had some open pine cones for the kids to explore, and we watched some of this YouTube video to show how a pinecone drops its seeds.
Fork Tree Paintings
Materials:
- Tempera paint (green, brown, yellow, and primary colours for the lights on the tree)
- Paper (we used finger paint paper because it is nice and slippery)
- Forks (you could also use a comb)
- Q-Tips
- Scissors
- Glue stick
- Construction paper (used for mounting)
Fork Painting
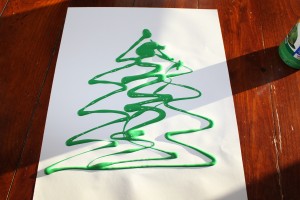
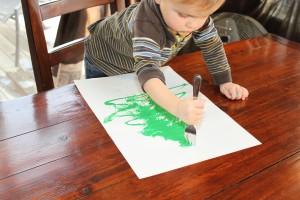
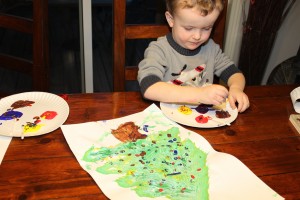
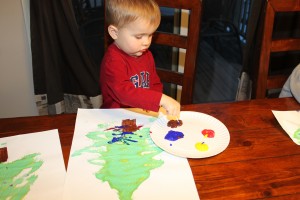
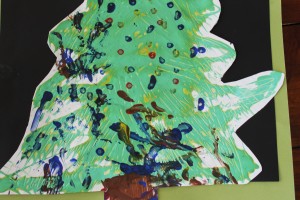
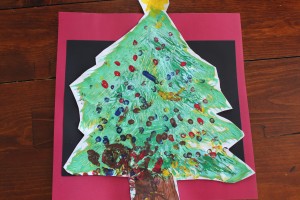
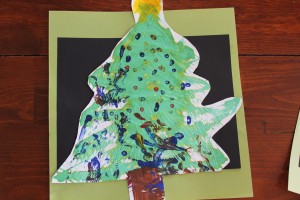
- I started by squirting some green tempera paint onto the finger painting paper in the shape of a pine tree.
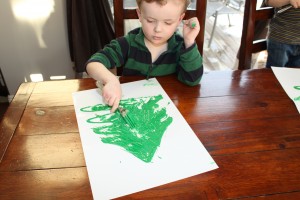
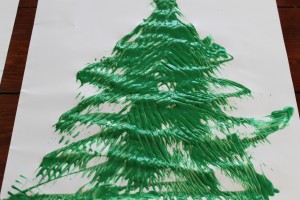
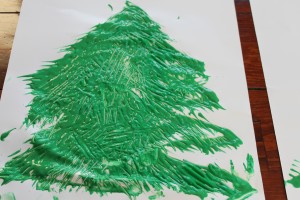
- Then, starting at the top of the tree, the boys drug their forks through the paint, downwards and out to the sides, to create wispy pine needles.
- They also used a sponge brush to paint on a brown trunk for their tree.
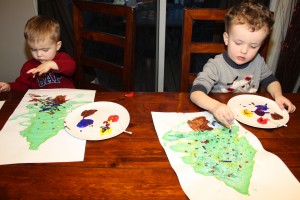
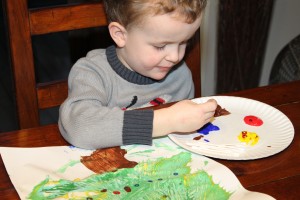
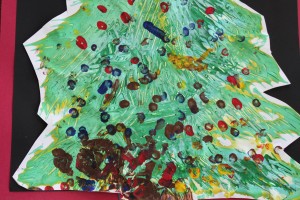
- Once their paintings were dry, the boys used Q-Tips to dot on some colourful lights for their tree (we used primary colours so the boys could also experiment with colour mixing).
- When their trees were dry, I cut around them and mounted them on some construction paper to make them stand out.
I love the textured look the forks created for the pine needles!
Pinecone Christmas Trees
Materials:
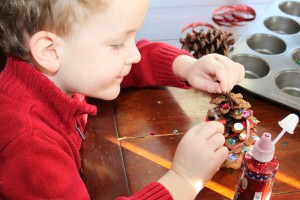
- Pine cones
- Glitter glue
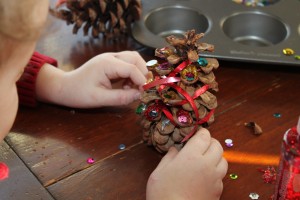
- Sequins or pom-poms
- Ribbon
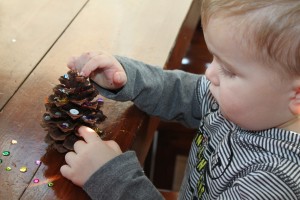
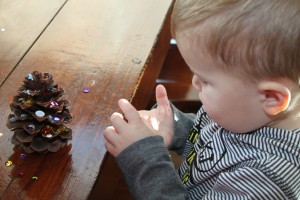
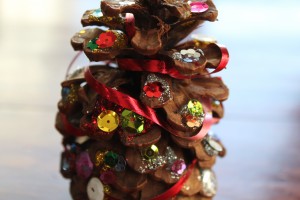
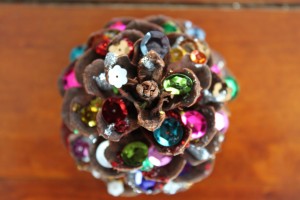
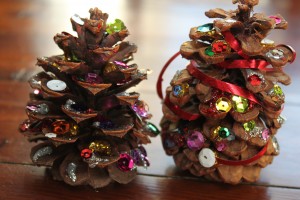
Decorating Pinecone Christmas Trees
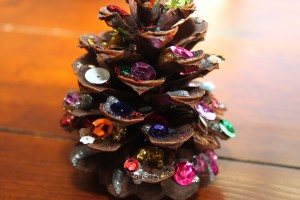
The boys’ bedazzled pinecone Christmas trees turned out lovely and very festive!
Click the link for more winter picture book activities.
Thanks for stopping by!
Recent Comments