Well, it’s springtime in Calgary, which means very unpredictable weather! It can be sunny and warm one day and blowing snow the next; you just never know what you’re going to wake up to! This morning we woke up to snow, lots and lots of heavy, wet snow. Rather than sitting inside complaining about the weather, I decided to bundle up the bugs and embrace, what I’m hoping will be, one of our last snowfalls of the season. I’m not holding my breath though!
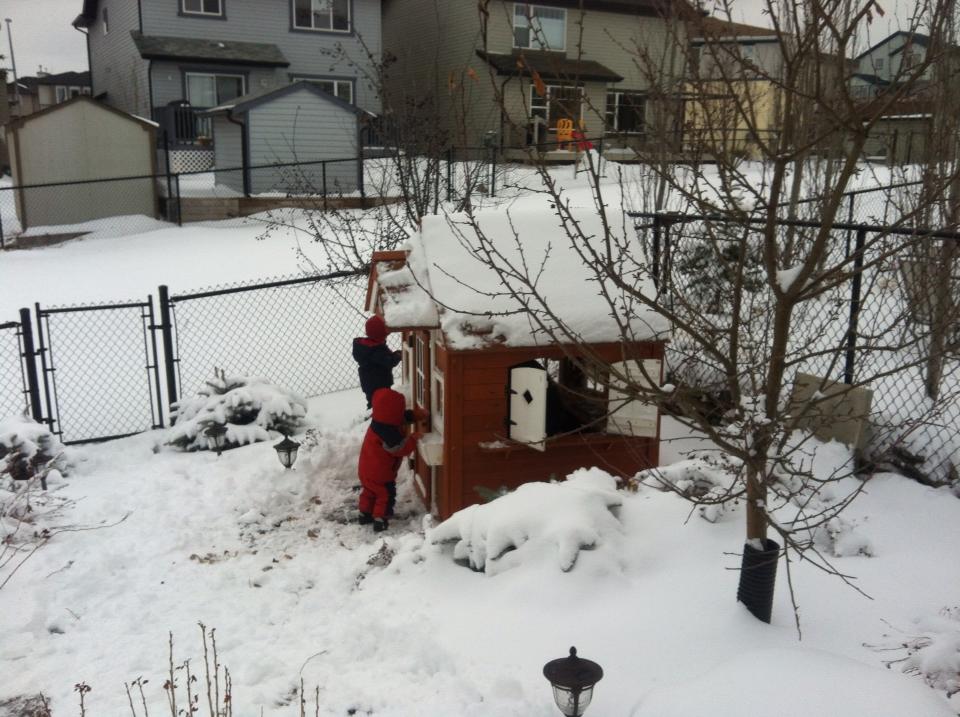
The boys played in the snow and helped build a snowman. I’m using the word ‘help’ loosely because, although they started off eager to help, they soon got bored and wandered off to play in their playhouse instead. At least M came back to put on the final touches :).
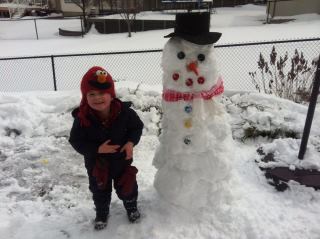
After warming up with some hot chocolate and marshmallows, I set out some materials for the boys to make some melting snowman paintings. Why melting snowmen? Well, mostly because they are fun and easy make, but it also may be in part to wishful thinking. I’m not-so-secretly hoping that the snowman we made in our backyard will be melting very soon due to some warm, spring-like temperatures!
Materials:
- shaving cream (we used unscented)
- white glue
- baking sheet (or something else to put your snowman paint on)
- black construction paper (for the snowman’s eyes, buttons, and hat)
- orange construction paper (for the snowman’s carrot nose)
- brown construction paper (for the snowman’s twig arms)
Making Melting Snowman Paintings
First I squirted even parts shaving cream and white glue onto a baking sheet and mixed them together to create the snowman paint. The combination of the shaving cream and glue makes a wonderful, white, puffy mixture that will look fluffy and fabulous even after it’s dry!

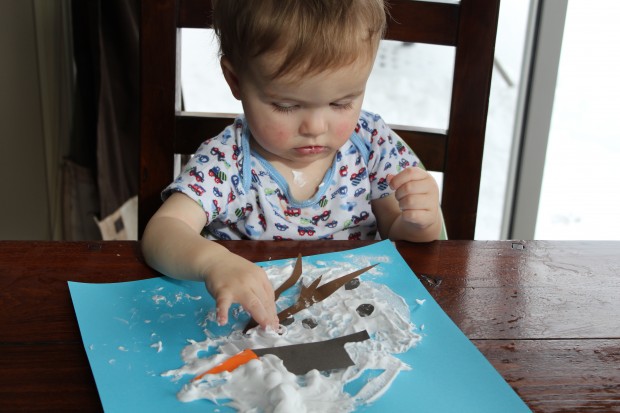
I placed the tray of puffy snow paint in between M and B, and gave each of them a blue piece of scrapbook paper. With no explanation needed, the boys began shovelling the fluffy mixture onto their papers with their hands.


It was messy, but fun!
After washing the boys’ hands clean, I gave each of them: 5 black circles for the eyes and buttons, an orange carrot nose, a black top hat, and two brown twig shapes for the snowman’s arms. The boys placed the cutout pieces haphazardly onto their snow paint blobs to create the semblance of a melting snowman.


I think they turned out great! M’s is on the left and B’s is on the right. The best part about this project is that you get unique results even when using the same materials. I love it!


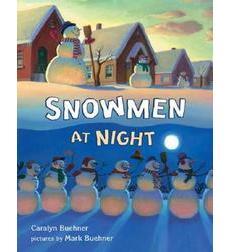
Links to Literature
Just in case you’re like me and try to connect almost everything to a picture book, here are some suggestions:

And that’s how I kept my bugs busy on this snowy day :).
Thanks for stopping by!
0 Comments
Trackbacks/Pingbacks